
🤖Android Install
Android · Galaxy eSIM Installation
#android#galaxy#esim#installation#설치
0 views7 min read
Before You Start
- Supported models: Galaxy S20 or later, Z Fold/Flip series (see Supported Devices)
- Device must be carrier-unlocked
- Wi-Fi or mobile data connection
- Latest One UI / Android recommended
- The QR code or activation code from esimoa
💡 Install 24 hours before departure and activate after arrival.
Method 1. QR Code Scan (Most Common)
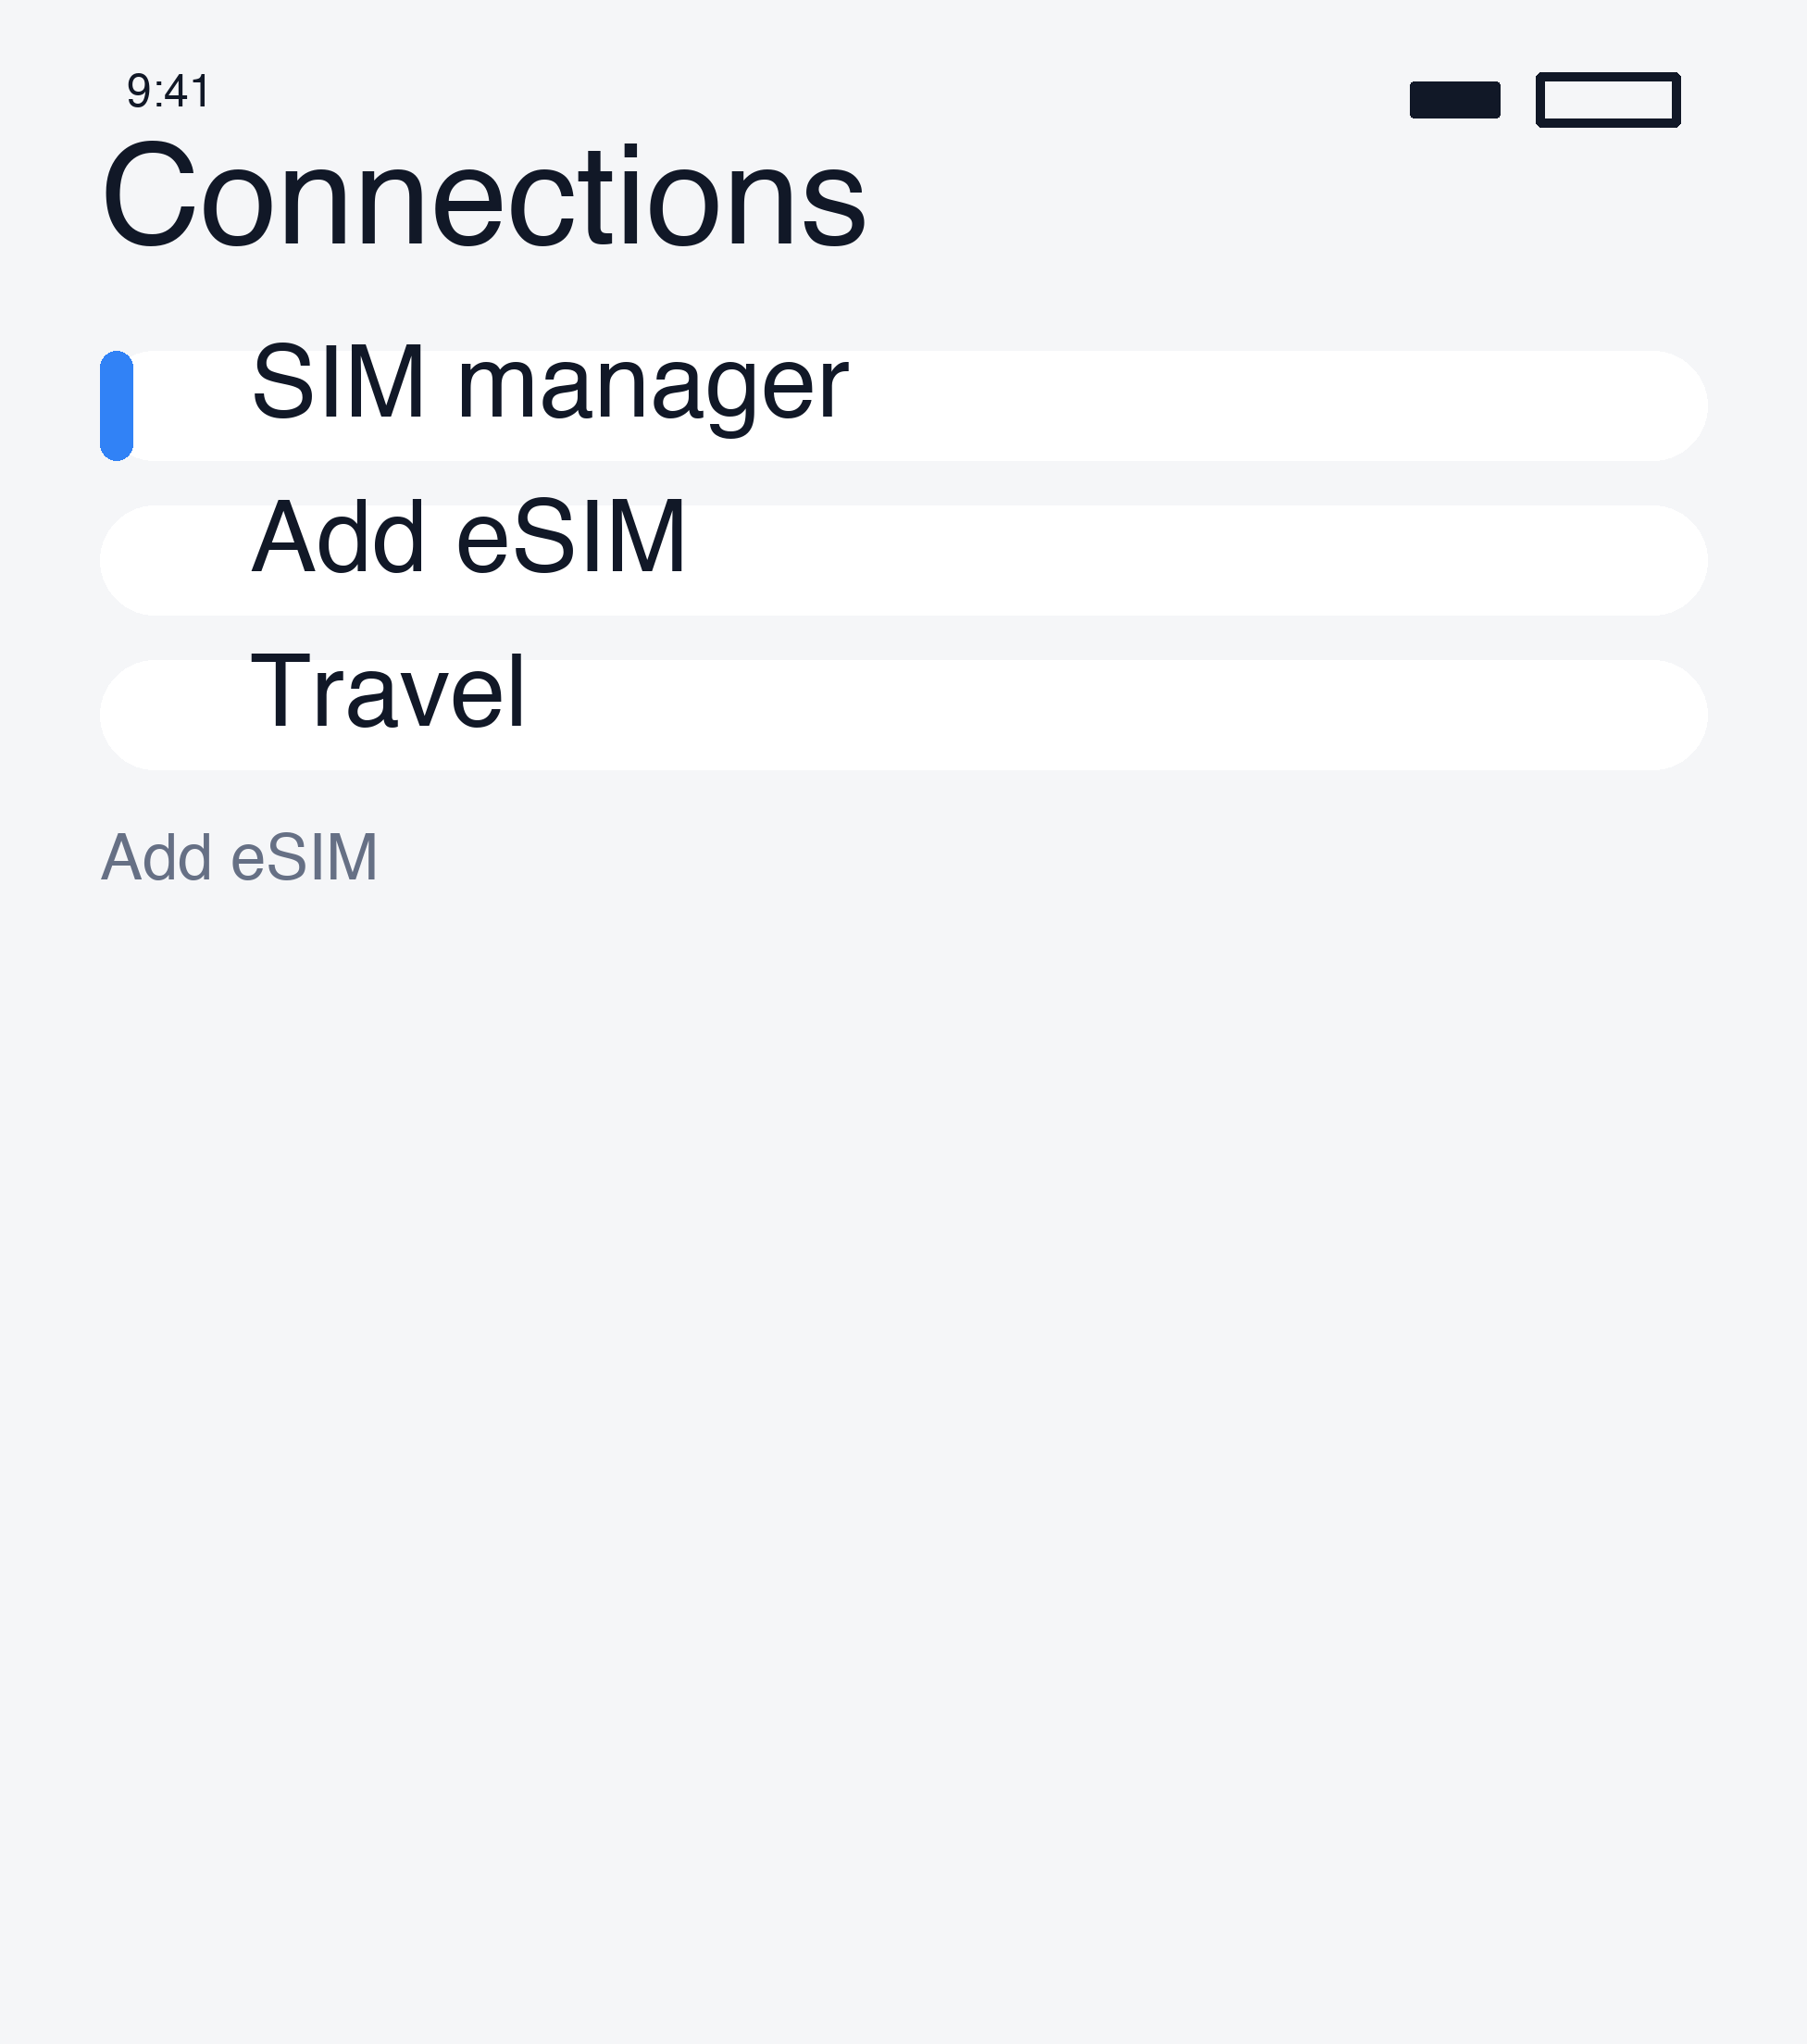
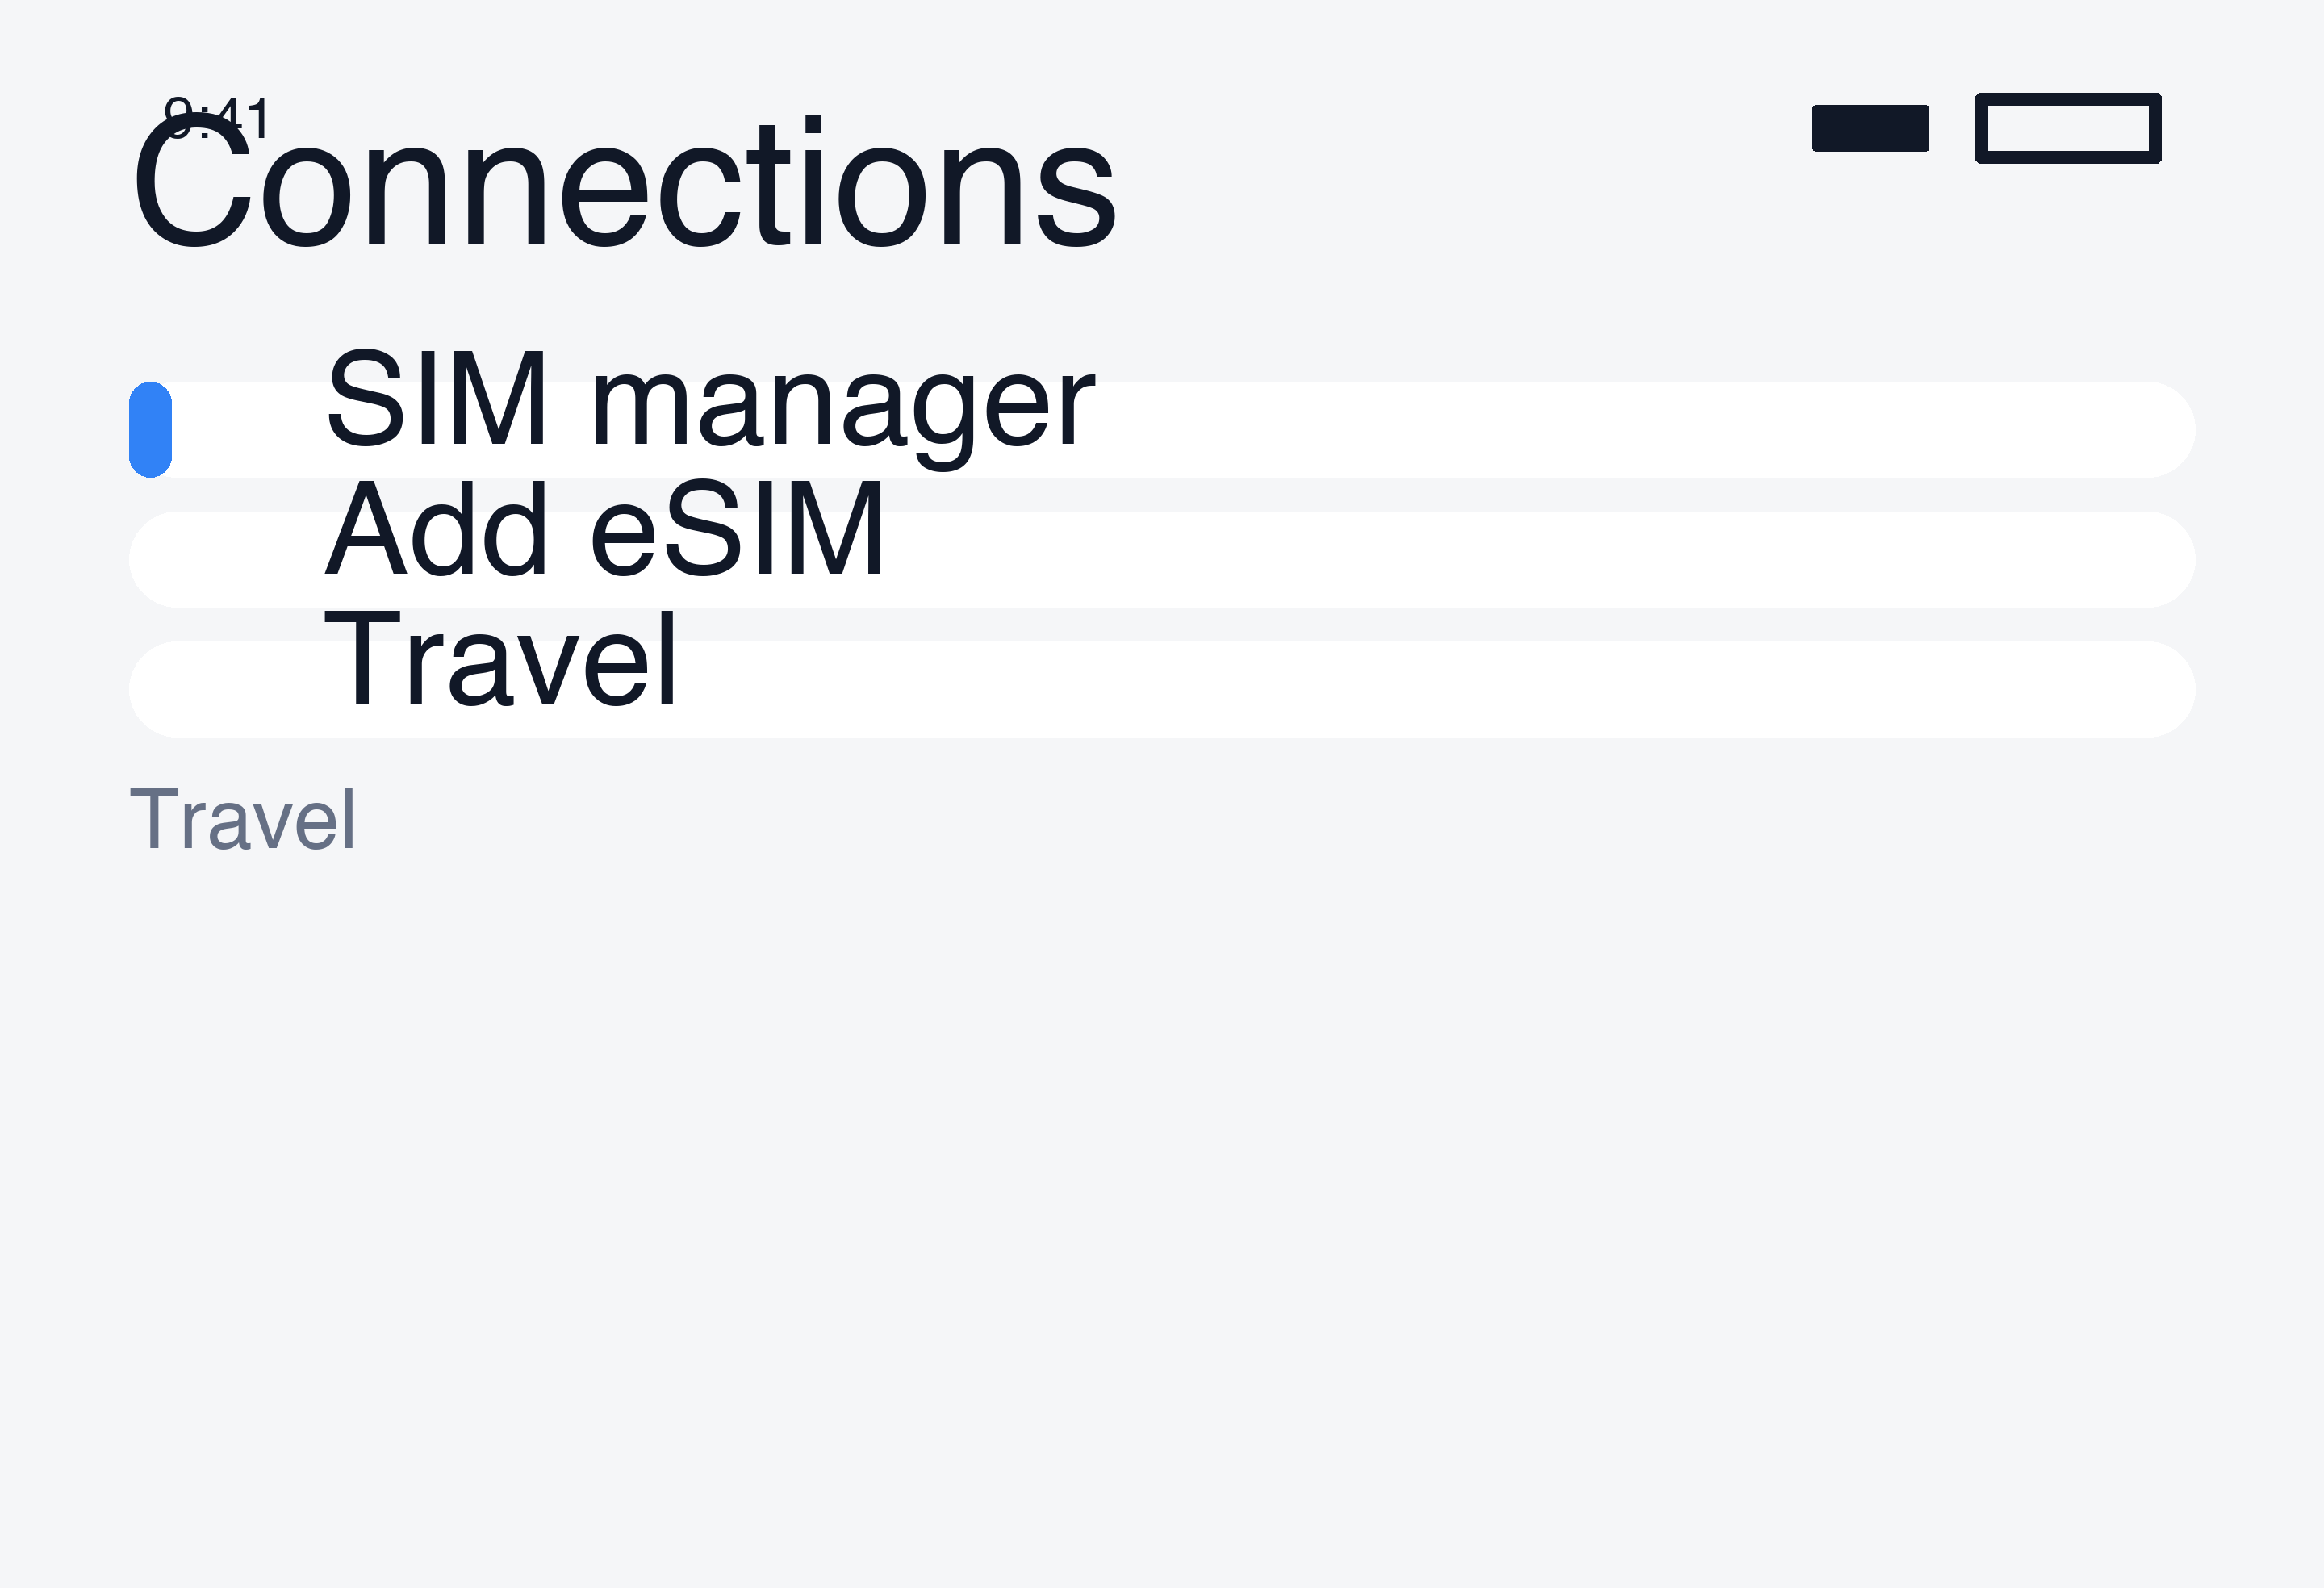
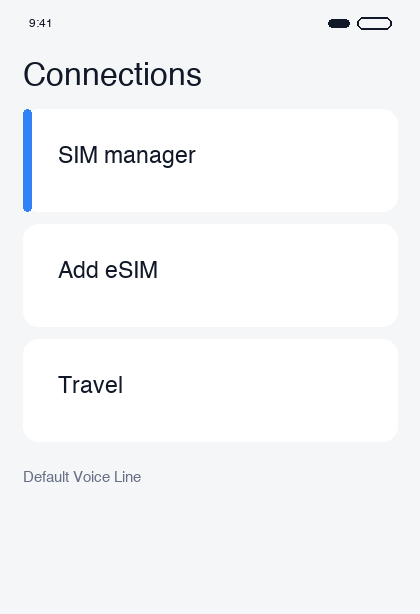
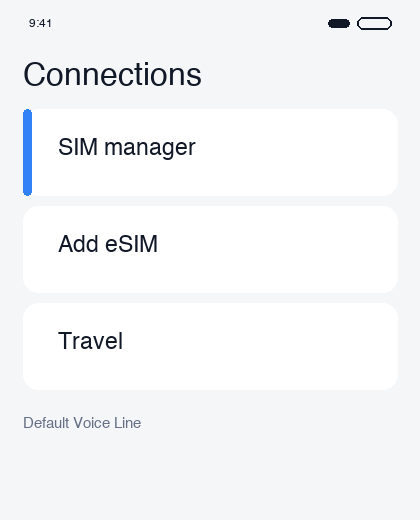
Step 1. Open eSIM add menu
Go to Settings > Connections > SIM Manager > Add eSIM.
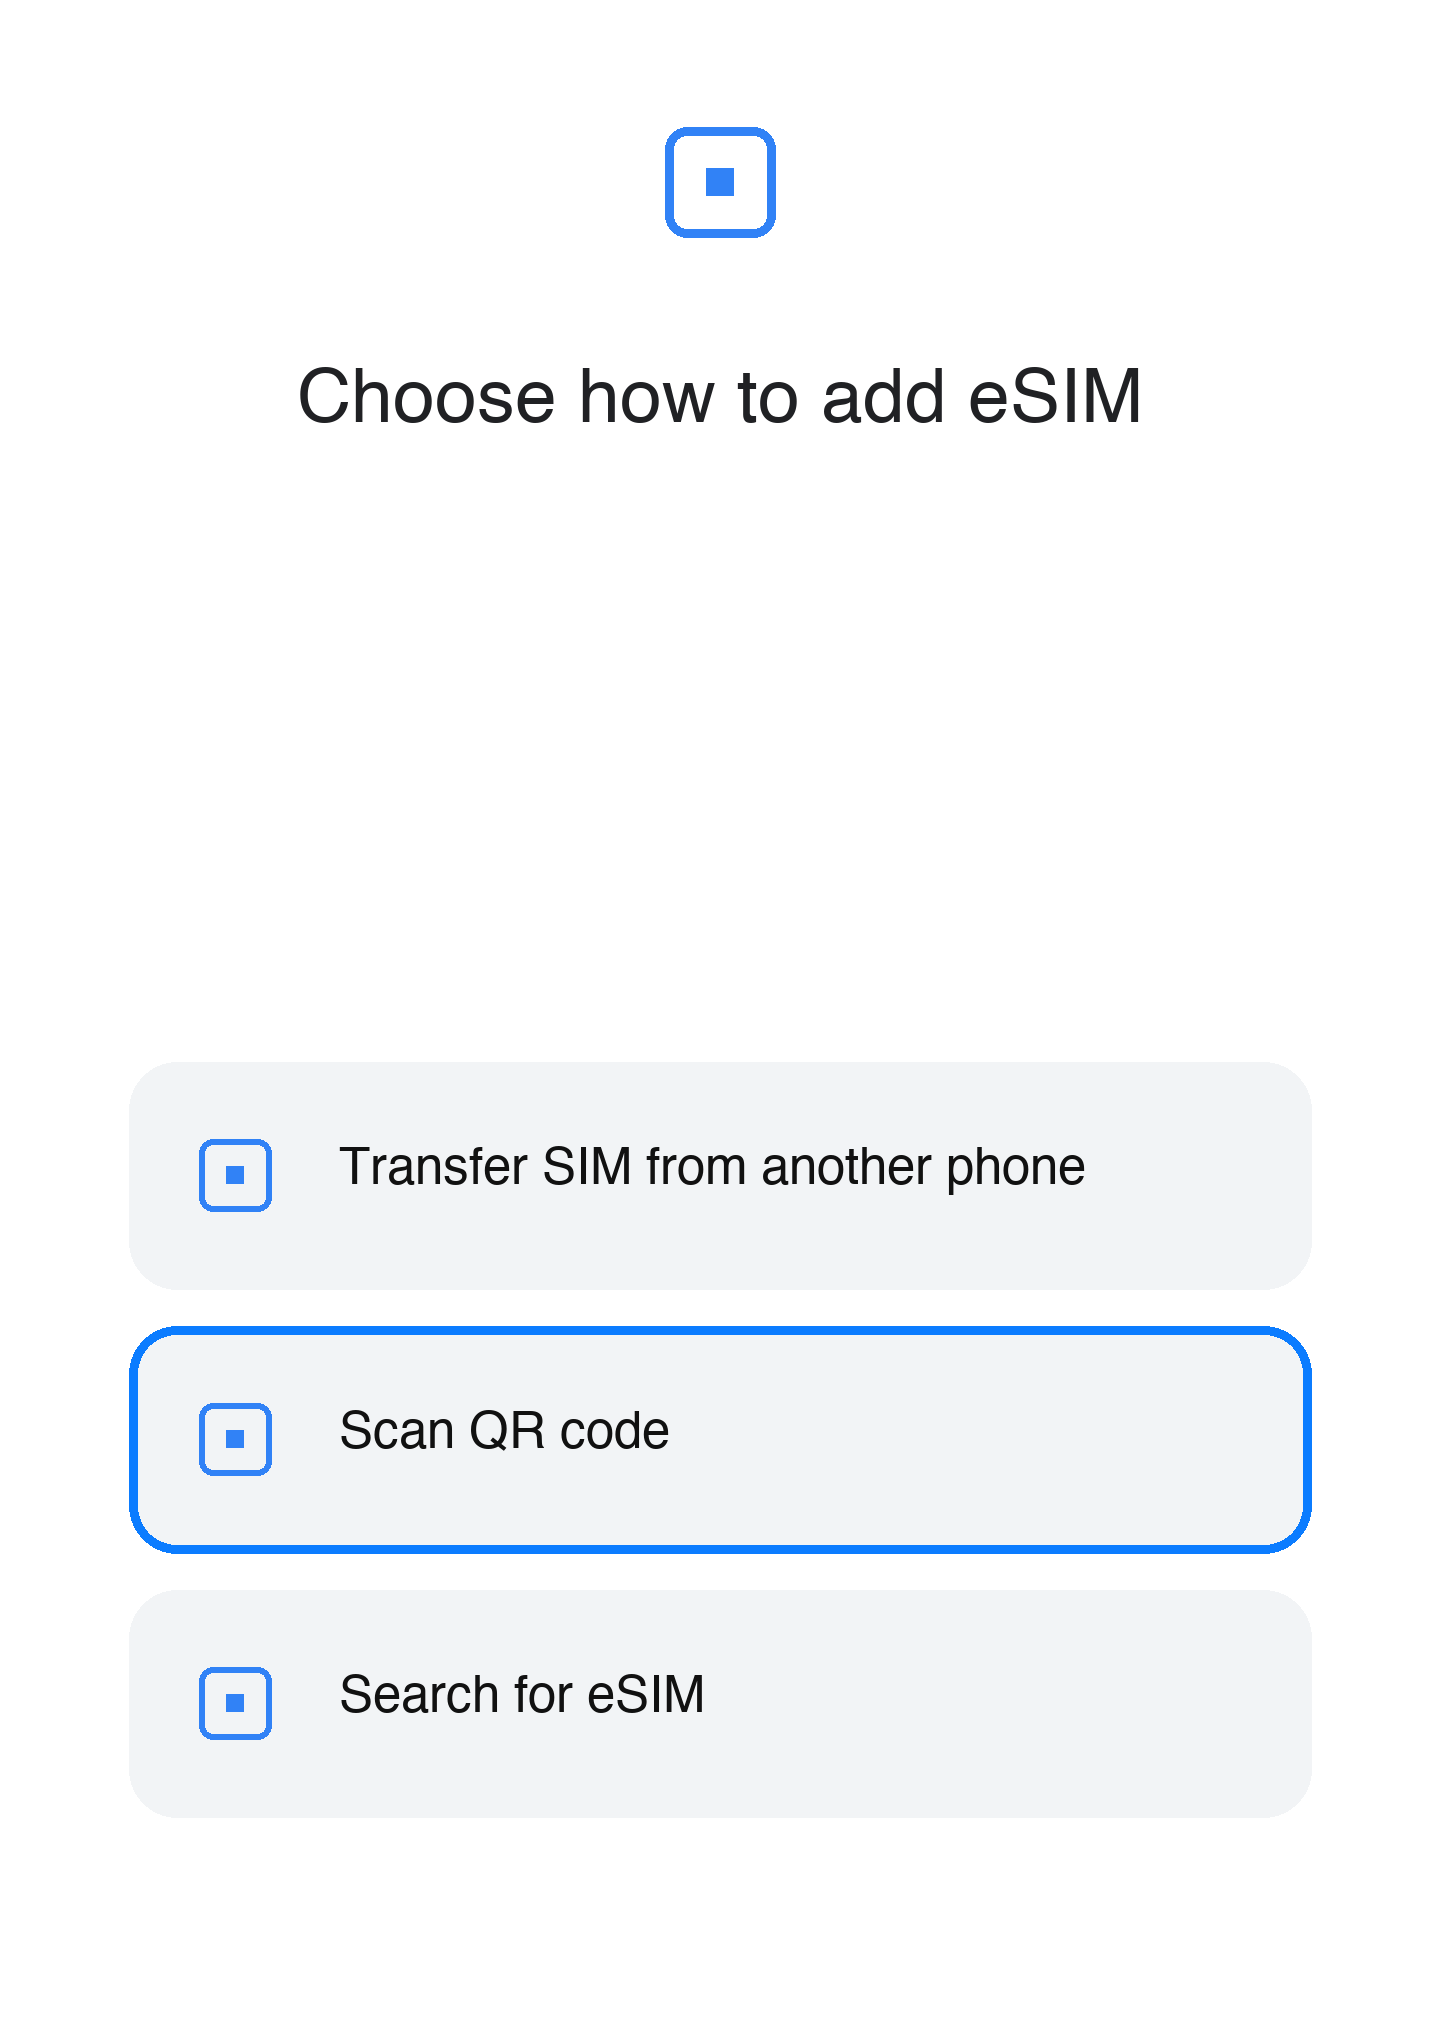
Step 2. QR code guide screen
Choose "Use QR code".
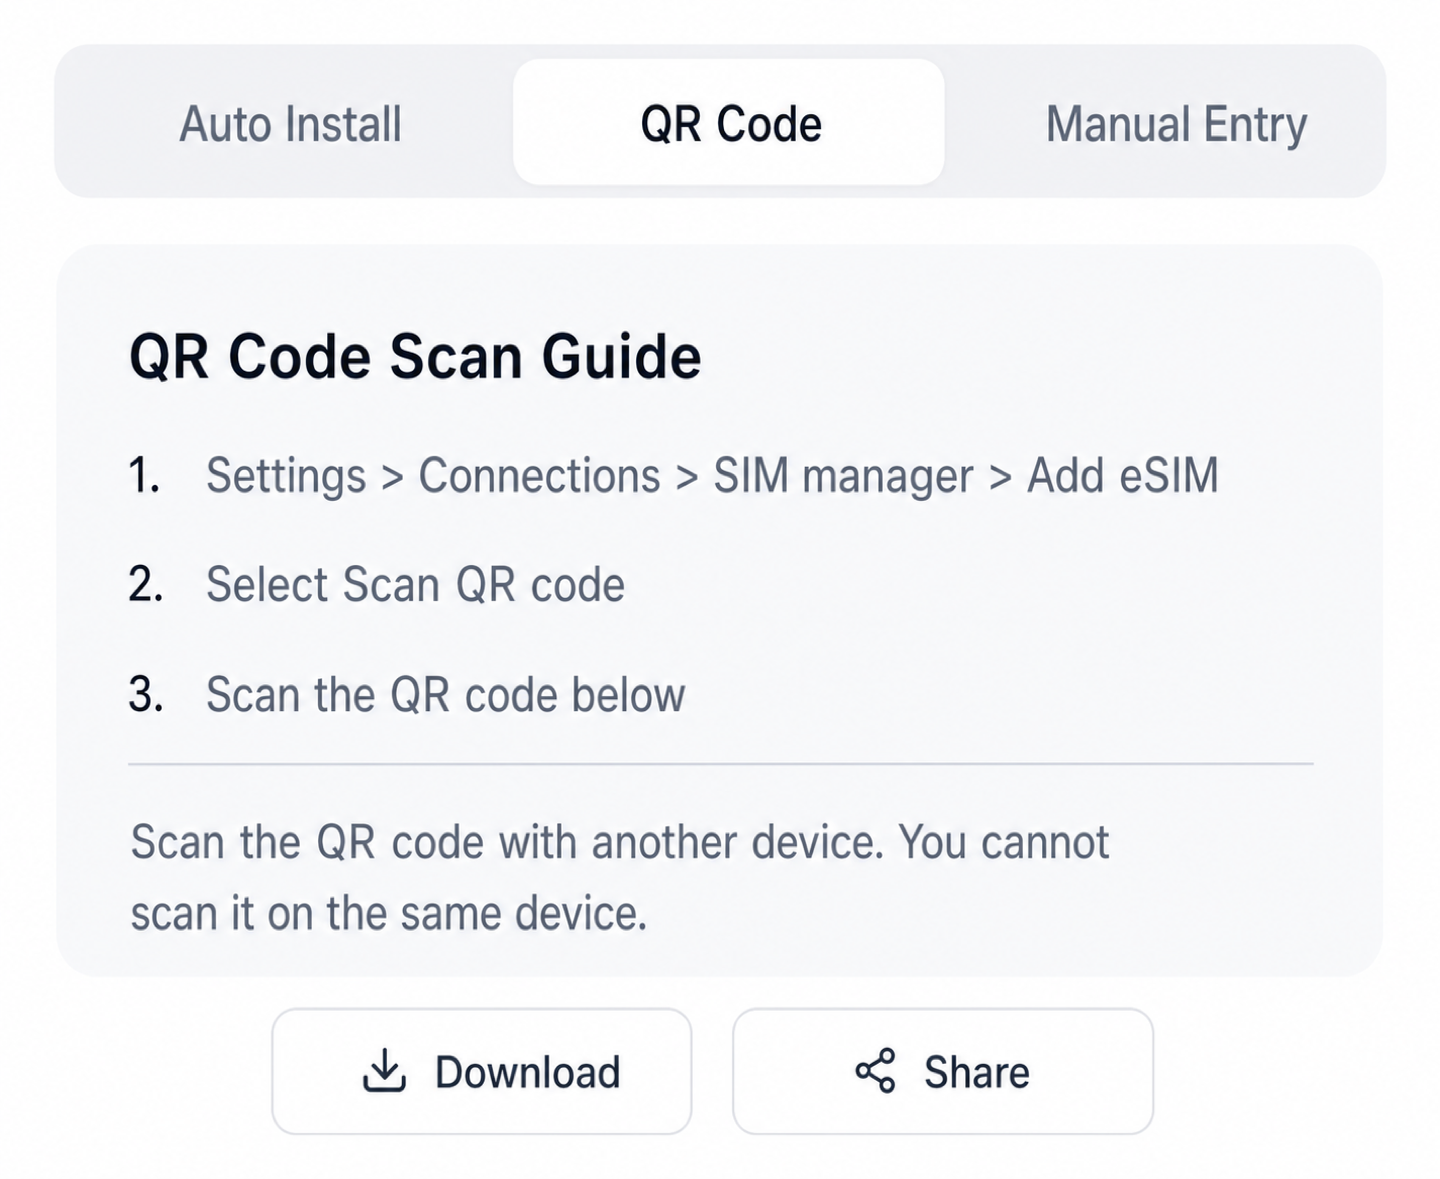
Step 3. Scan from camera or gallery
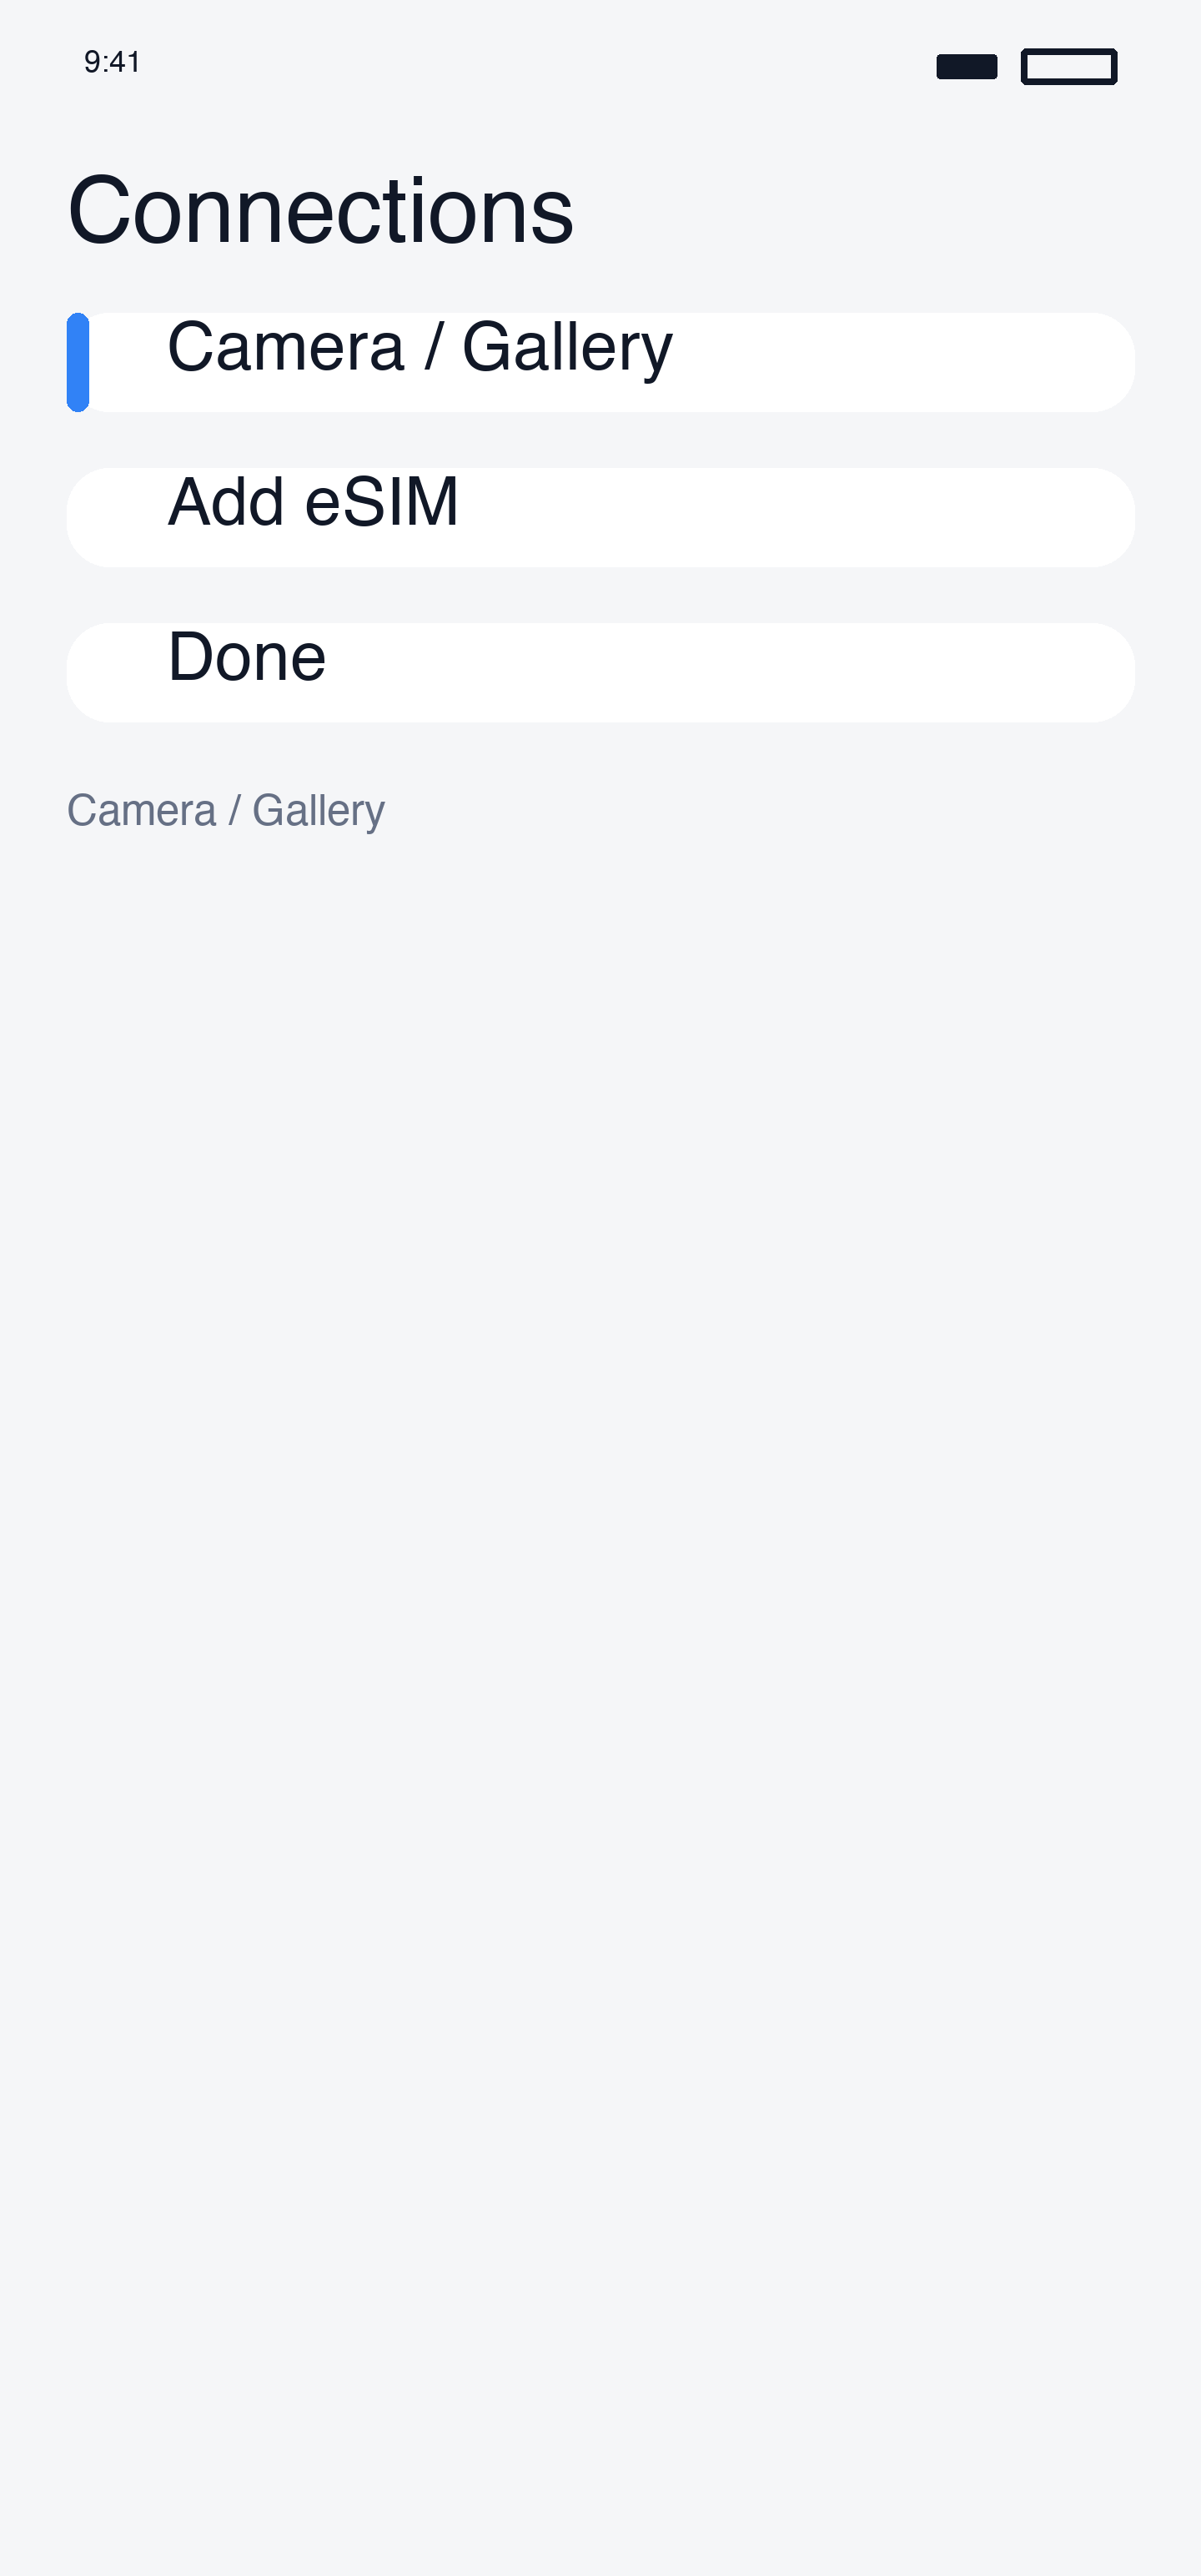
Scan the QR code shown on another device's screen, or pick from gallery.
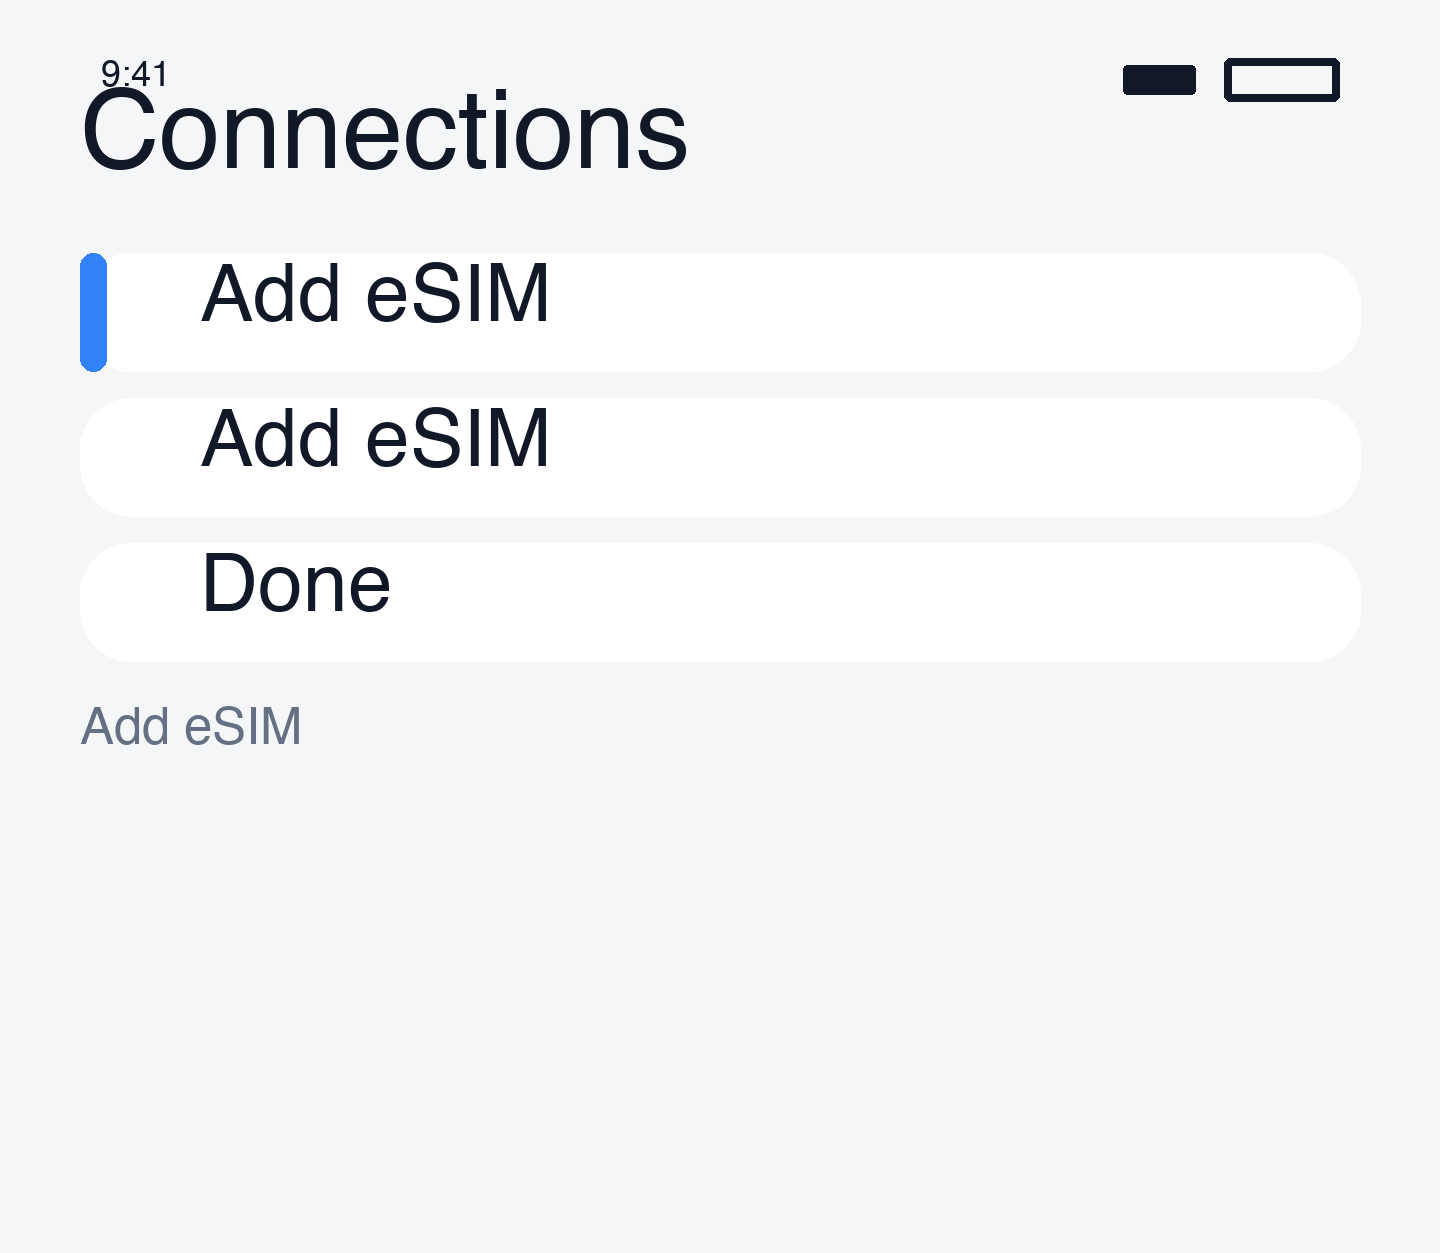
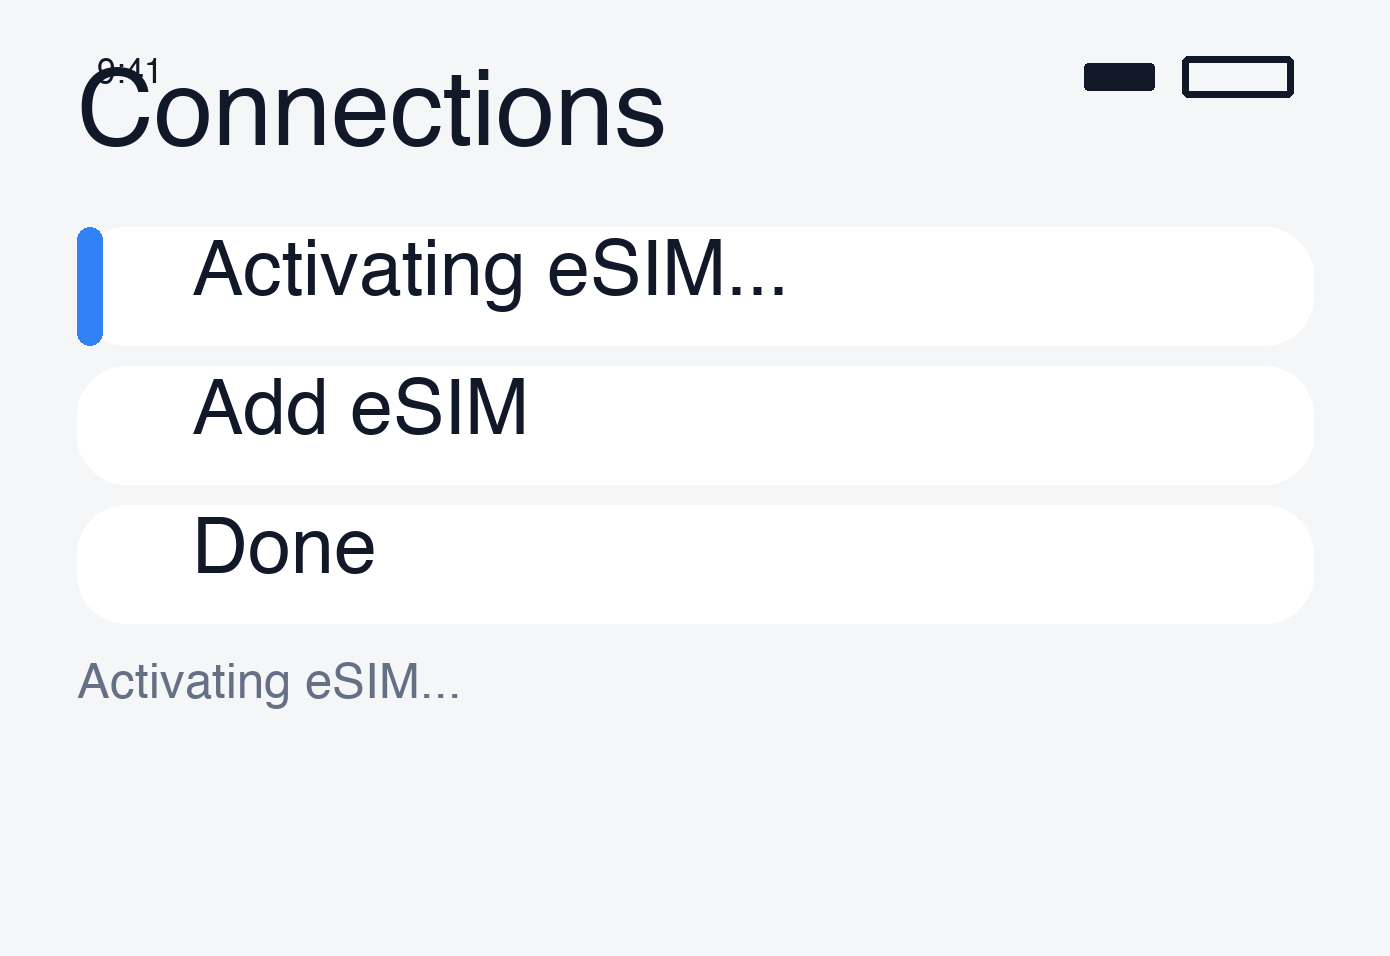
Step 4. Add eSIM
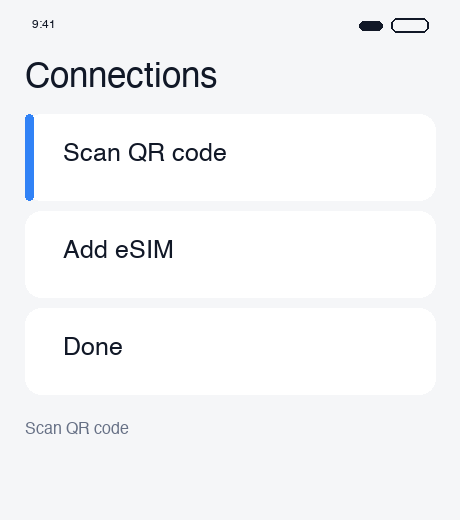
Tap "Add" — the profile downloads automatically.
Method 2. Manual Activation Code
Step 1. Activation code screen
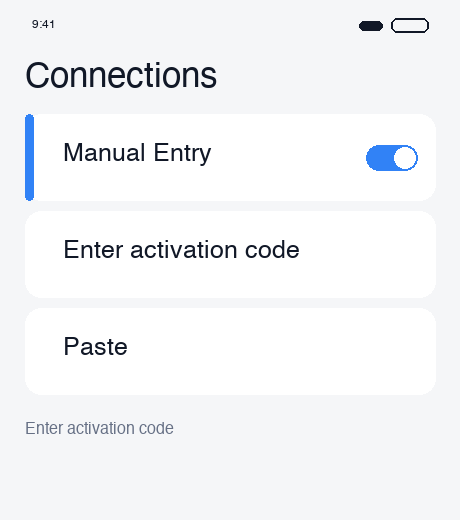
Go to Settings > Connections > SIM Manager > Add eSIM > Enter activation code.
Step 2. Copy / Paste the code
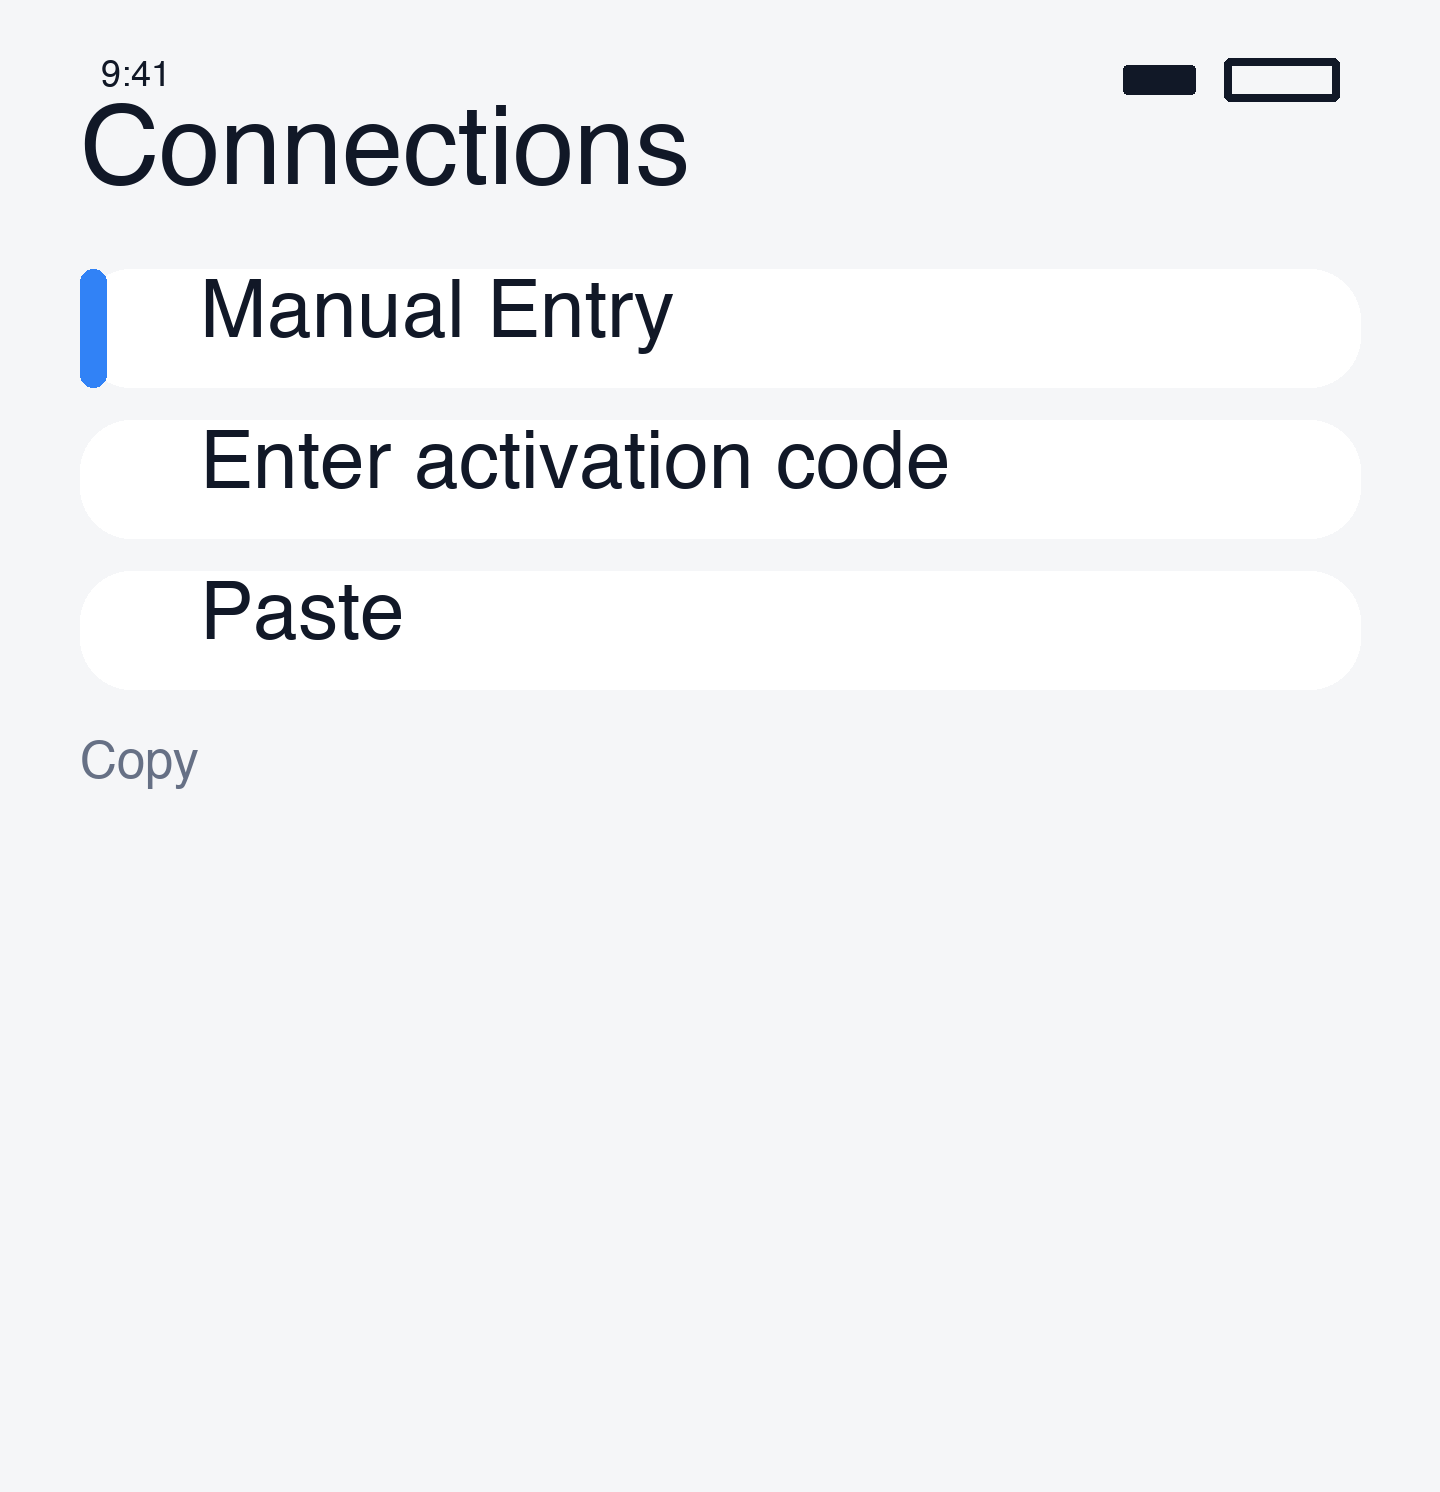

Copy the activation code from esimoa's email, paste it, then tap "Add".
Method 3. Auto-Install (Supported Models Only)
Step 1. Auto-install tab
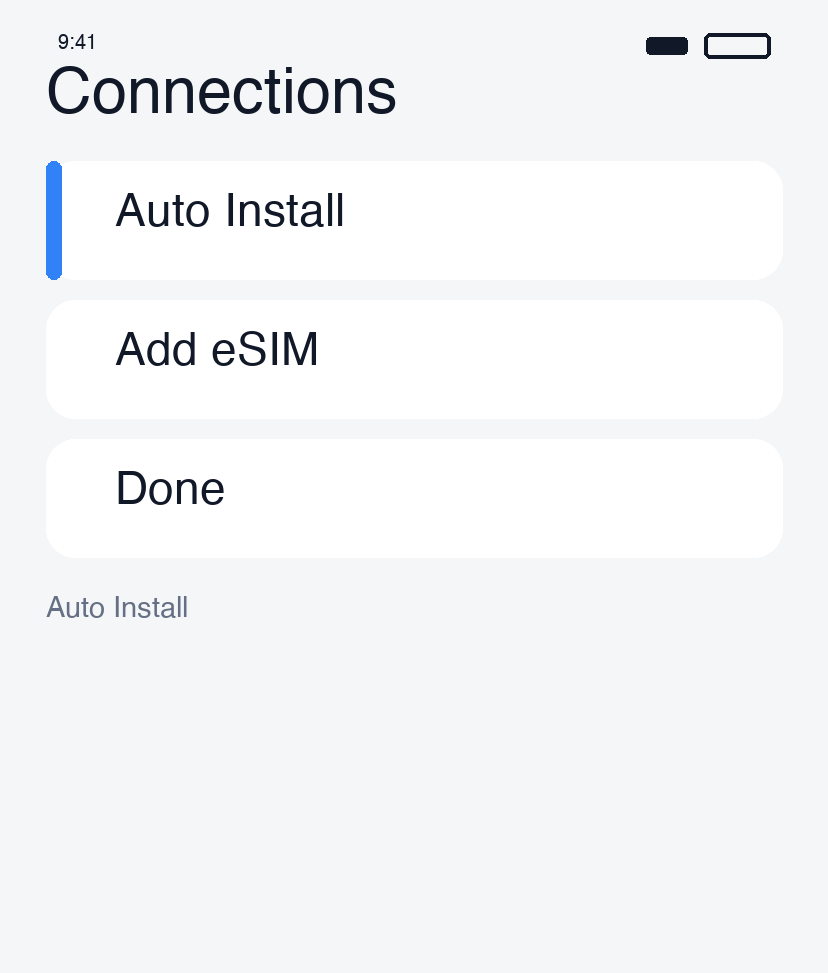
Supported models show an auto-install prompt.
Step 2. Add / Setup
Follow the prompts and name the line.
Line Configuration After Install
Line name
Rename the eSIM line to "Travel" or "esimoa" in SIM Manager.
Data / Call / Message lines
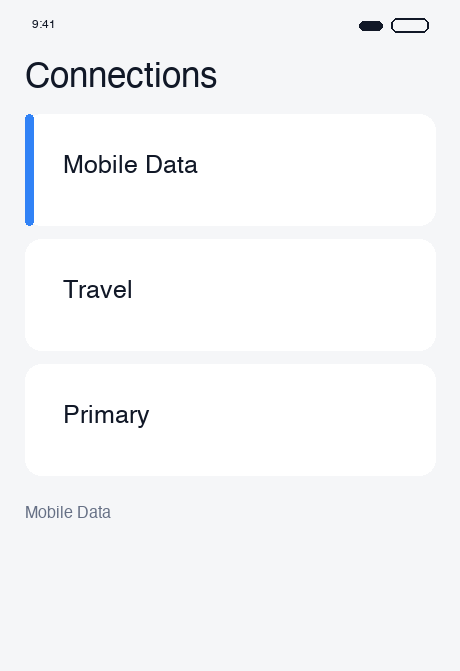
- Mobile data: eSIM (esimoa)
- Voice calls: Korean SIM
- Text messages: Korean SIM
Turn the eSIM line off before departure
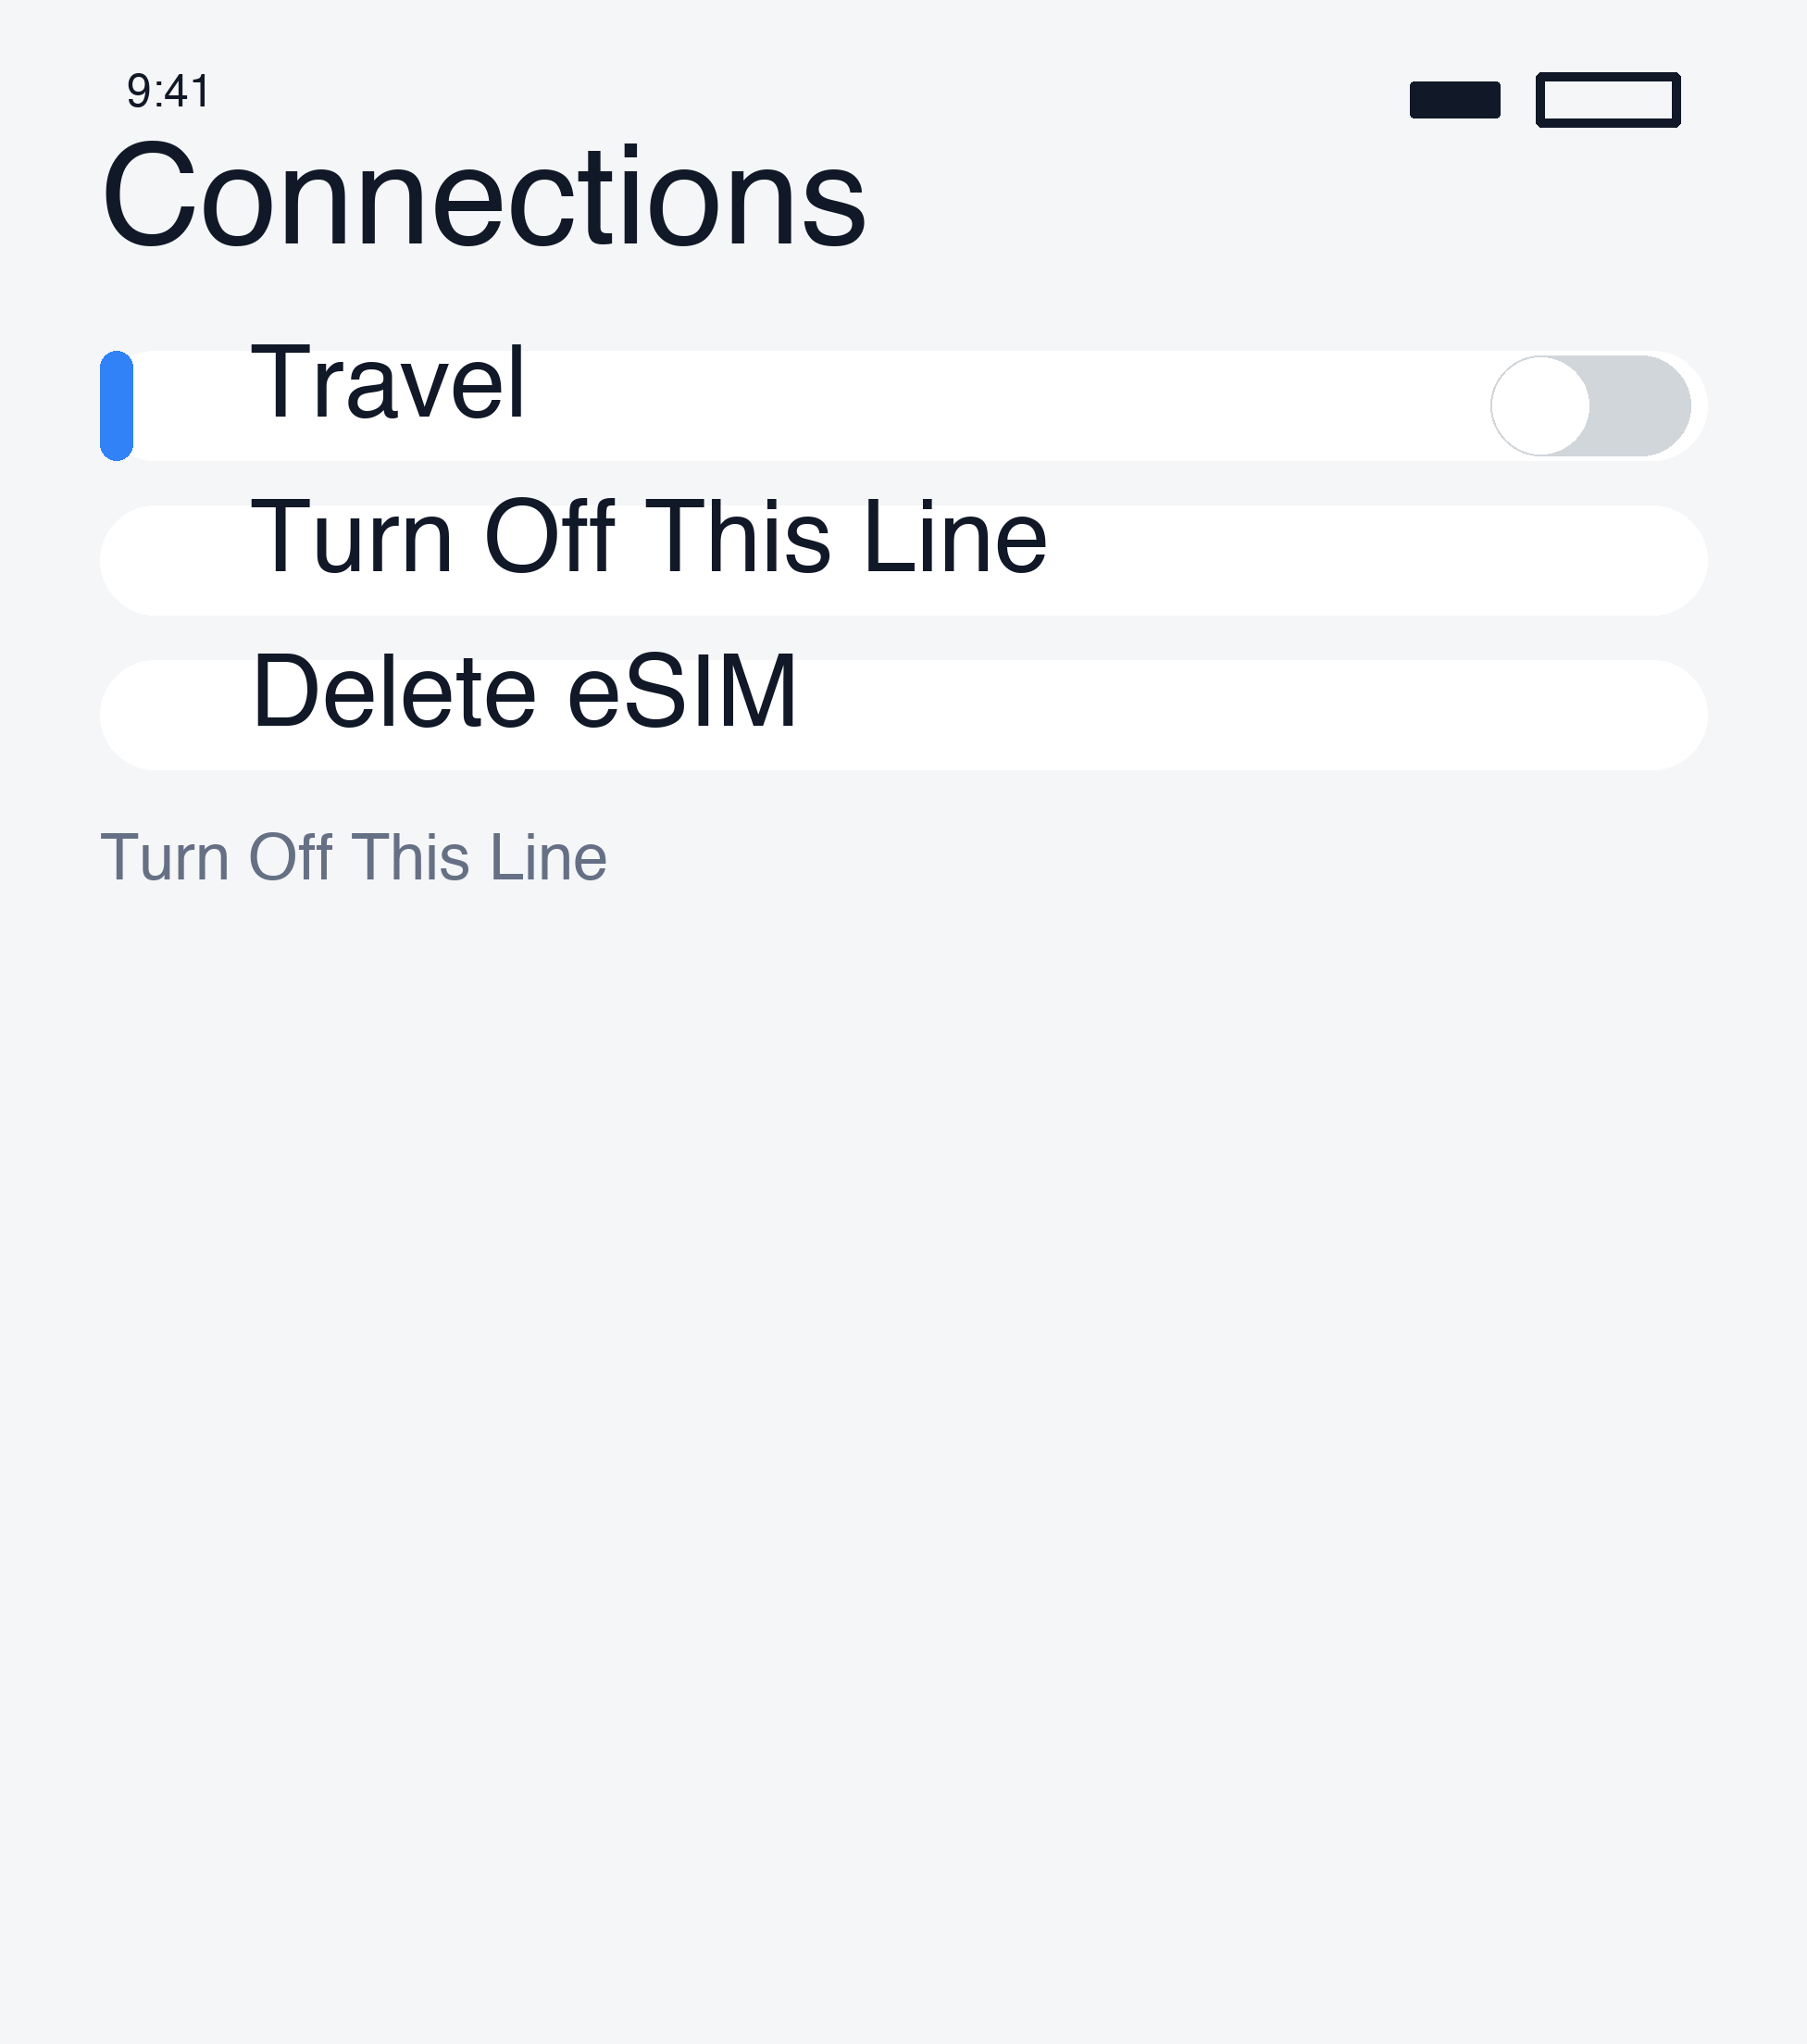
Keep the line off until you land, then enable it via the After Arrival guide.
Next Steps
Once installed, follow the After Arrival guide after landing.
If you encounter issues, see Android Troubleshooting.