Gói cướcGói cướcCuộc gọiVPNSo sánhHướng dẫnBlogHỗ trợTài khoản
Tất cả hướng dẫn
iPhone · iOSAndroid

Auto-install an eSIM on Android

Start with Auto Install in My eSIMs and follow your Android phone’s prompts.

Đã cập nhật 2026.10.023 phút đọc

Chuyển đến bước
  1. 01Before you install
  2. 02Start with Auto Install
  3. 03If the setup screen does not open
  4. 04Alternative · Scan a QR code (Samsung example)
  5. 05Alternative · Install on Pixel
  6. 06Alternative · Enter details manually
  7. 07After installation

Android includes Samsung Galaxy, Google Pixel and other brands. eSIM support and menu names depend on the model, sales region and OS. Huawei devices also require model-specific compatibility checks. The screenshots below use Samsung Galaxy as an example.

Before you install

Support can vary by purchase country and carrier, even for the same model name. Check compatibility and carrier lock first.

Connect to Wi-Fi and open your order in My eSIMs. Check when the plan starts before installing.

Start with Auto Install

  1. On the Android phone you will use, open My eSIMs and select your purchased eSIM.
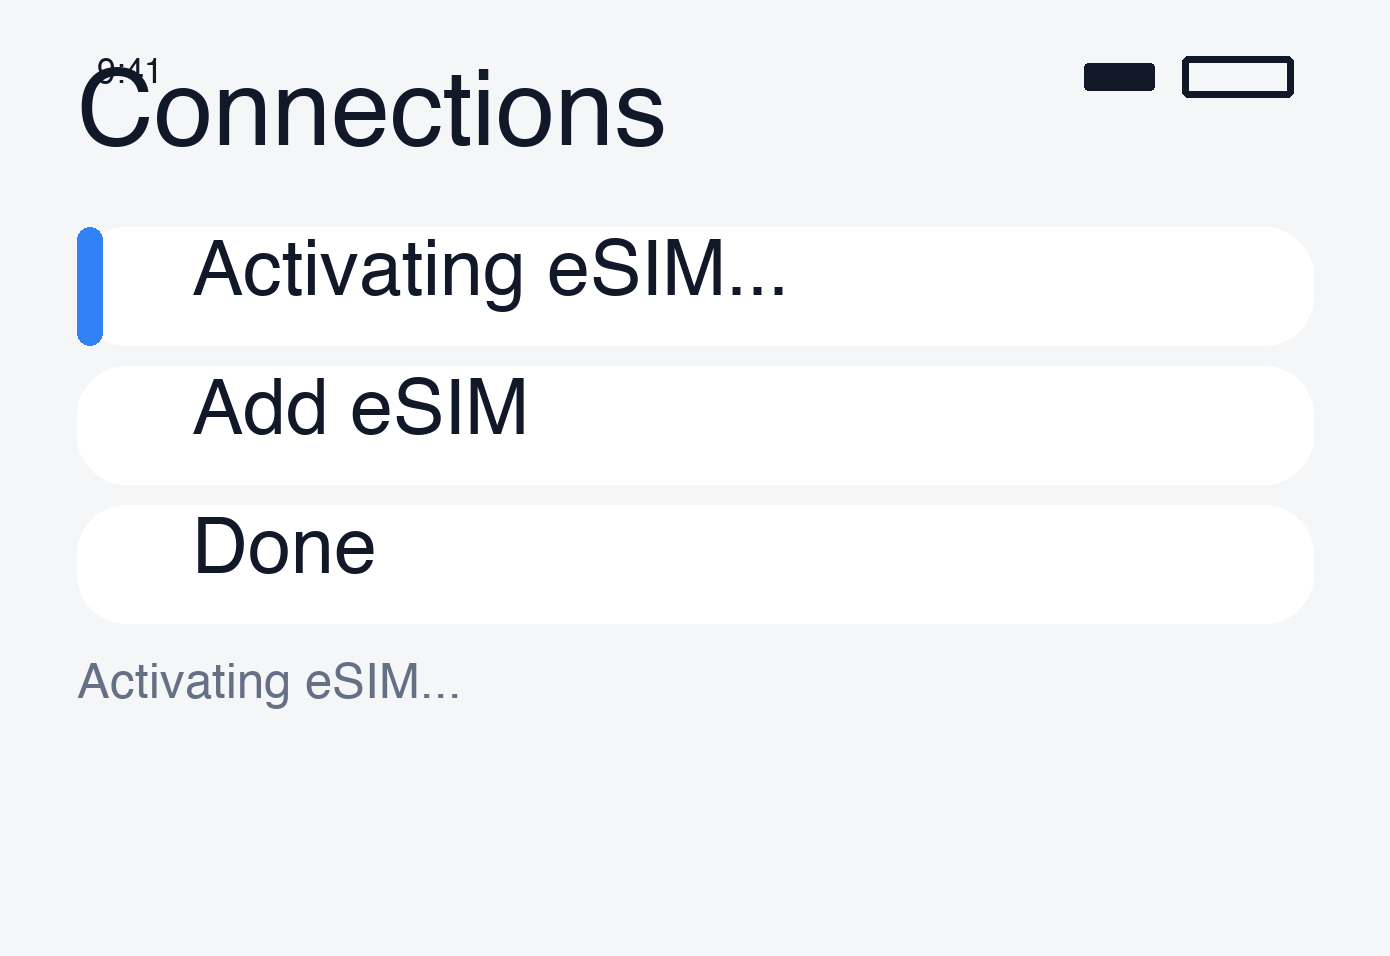
  2. In the Auto Install tab, tap Auto Install eSIM.
  3. Continue on the phone’s Set up eSIM screen.
  4. Tap Add, wait for installation to finish, then check the line in SIM settings.
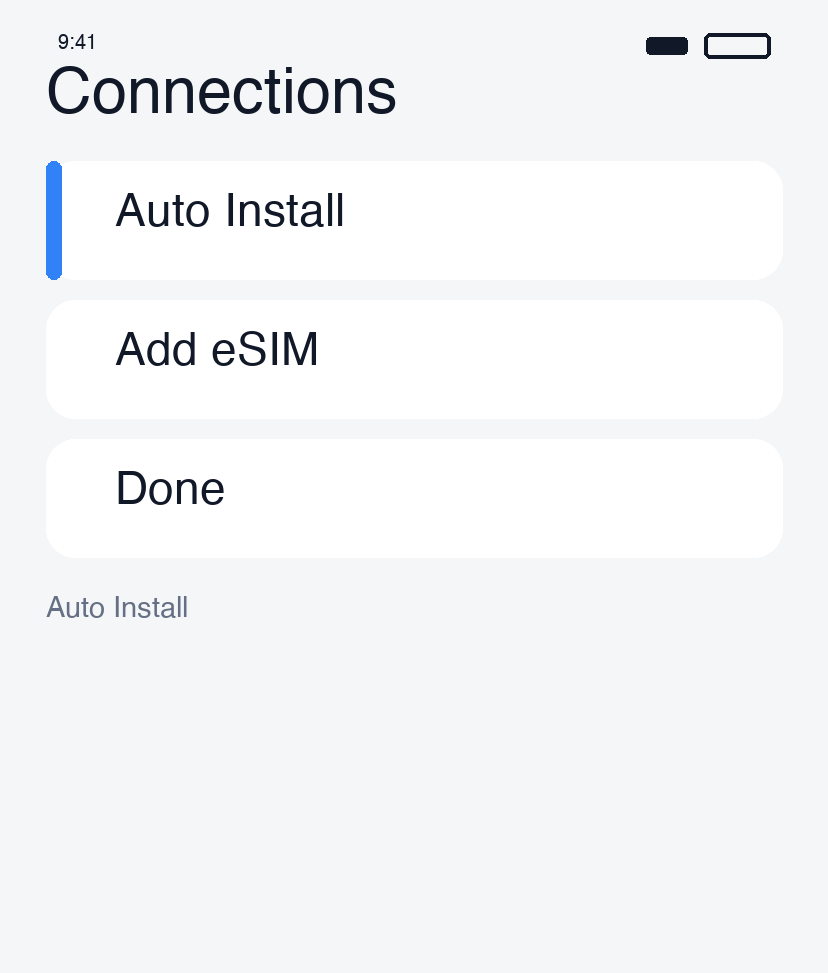
1. Tap Auto Install
1. Tap Auto Install
2. Start eSIM setup
2. Start eSIM setup
3. Add your eSIM
3. Add your eSIM

If the setup screen does not open

If you opened the page inside KakaoTalk or NAVER, try an external browser such as Chrome. If your device or OS does not support automatic installation, use the QR code or manual method below.

Alternative · Scan a QR code (Samsung example)

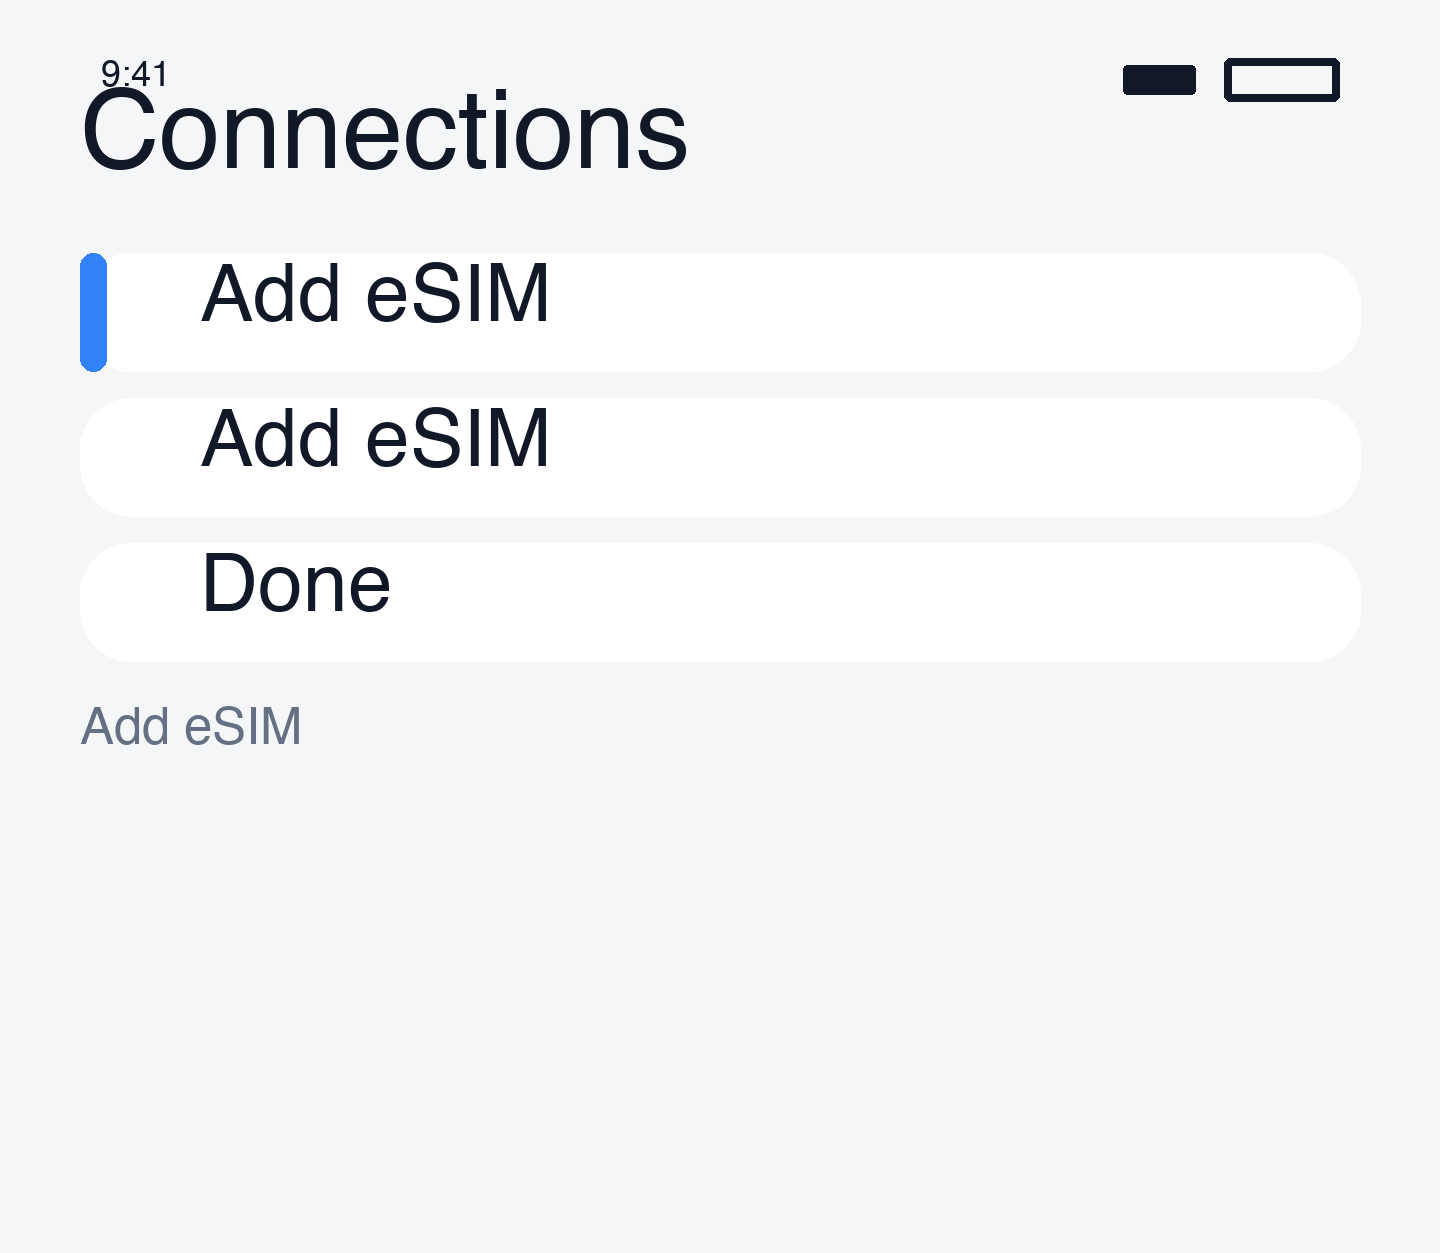
  1. Open Settings → Connections → SIM manager → Add eSIM.
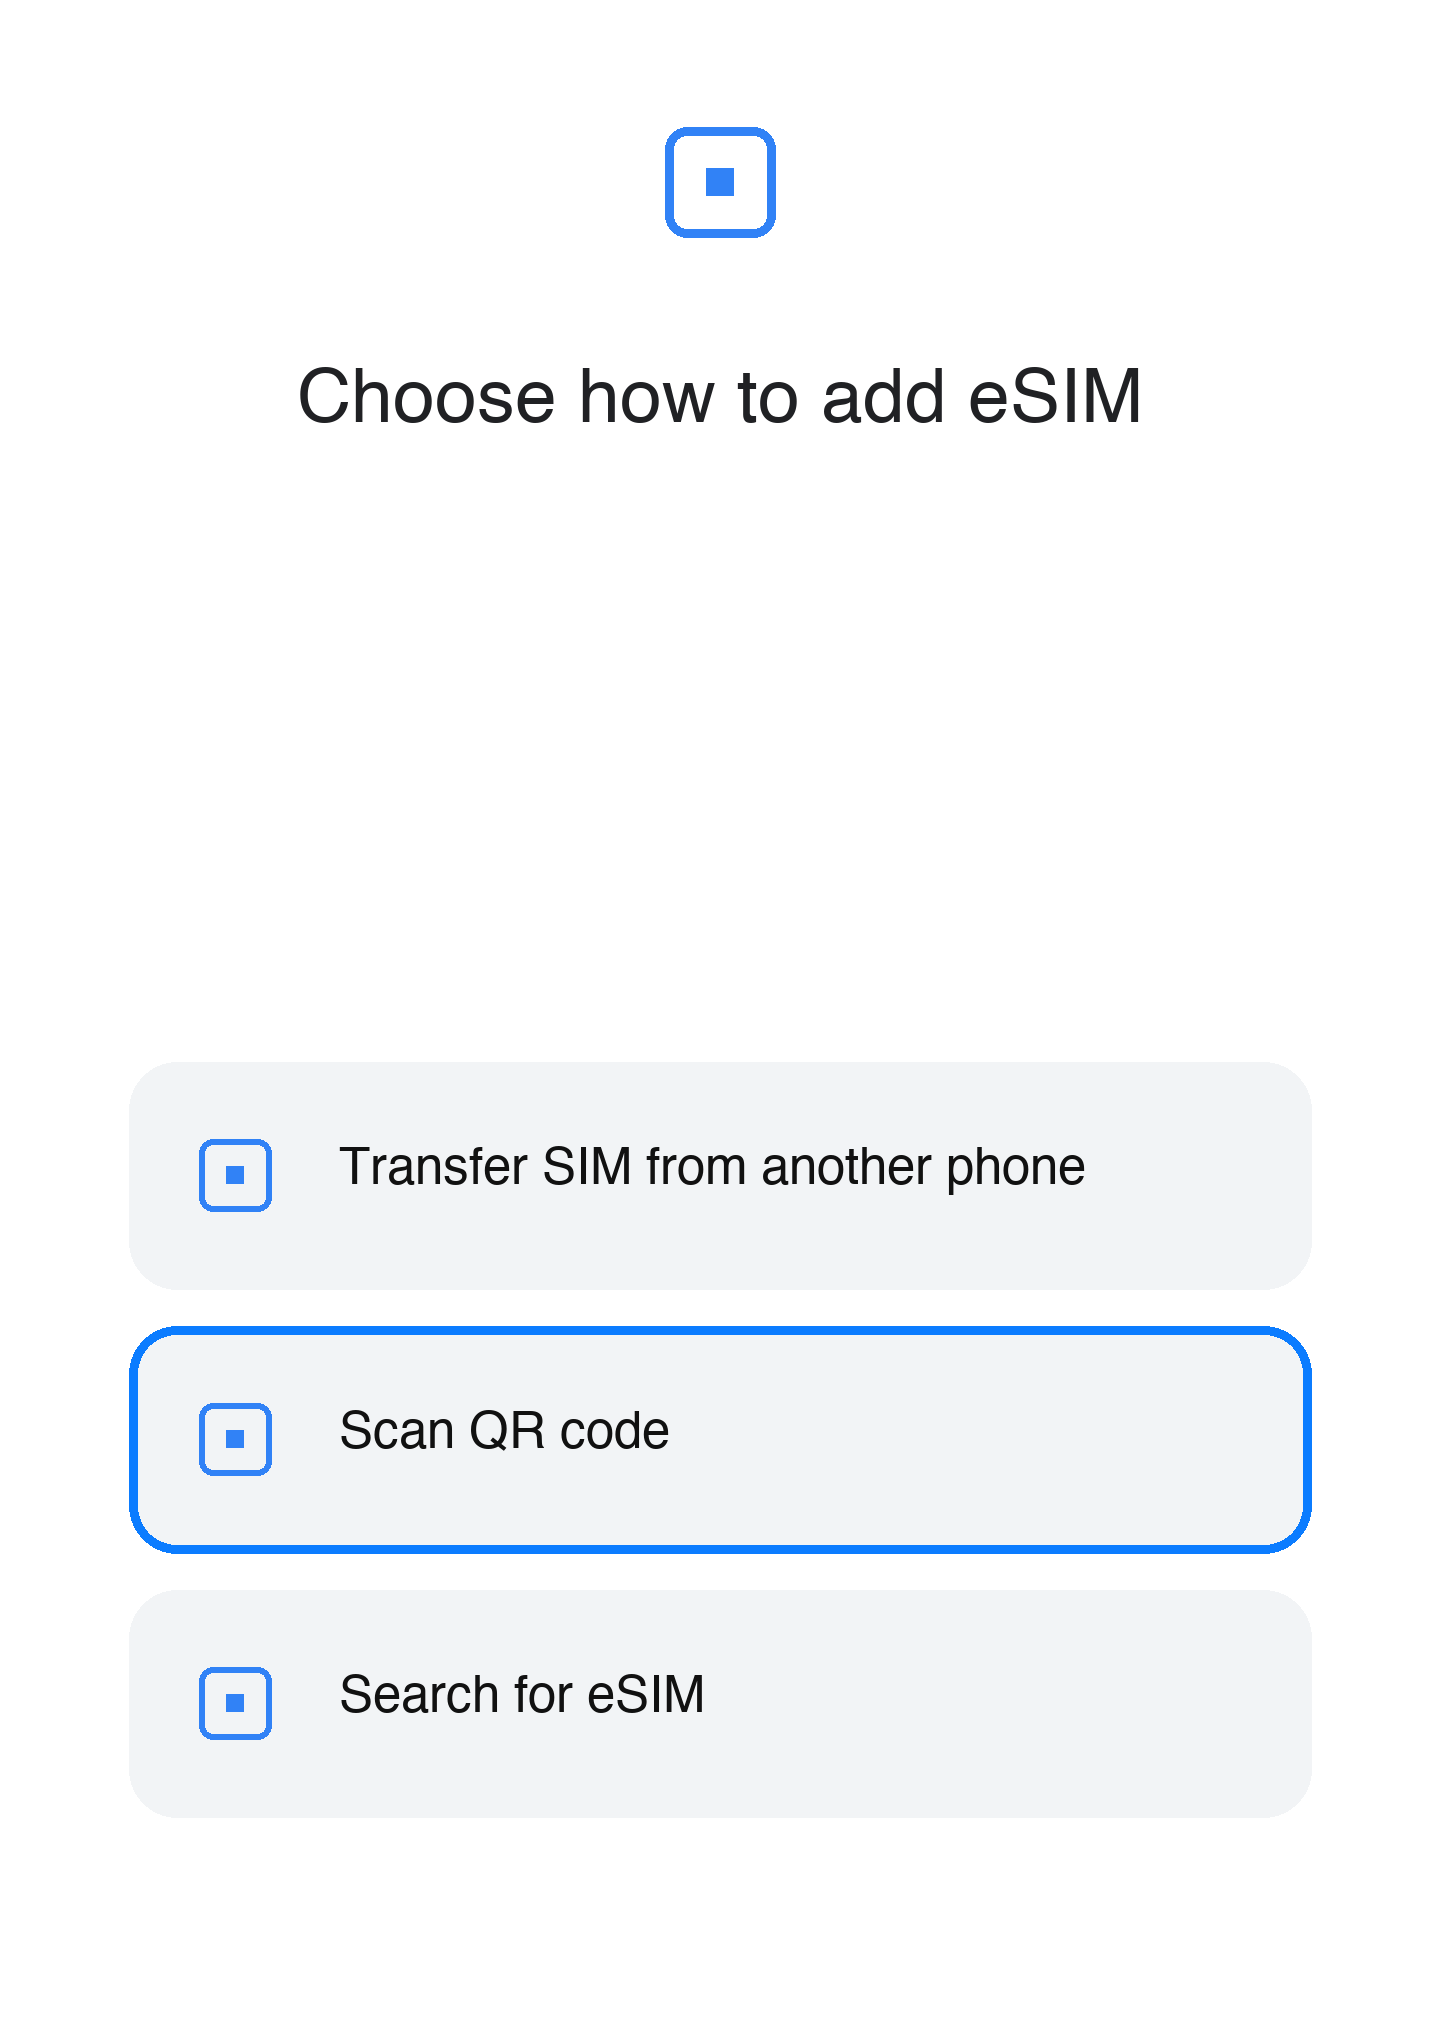
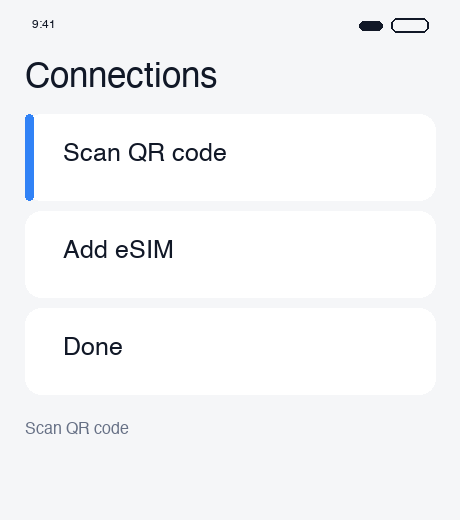
  2. Choose Scan QR code and scan your order’s code from another screen.
  3. If a gallery option appears, you may select a saved QR image.
  4. Finish the prompts and label the line Travel eSIM.

Menu names vary by model and One UI version.
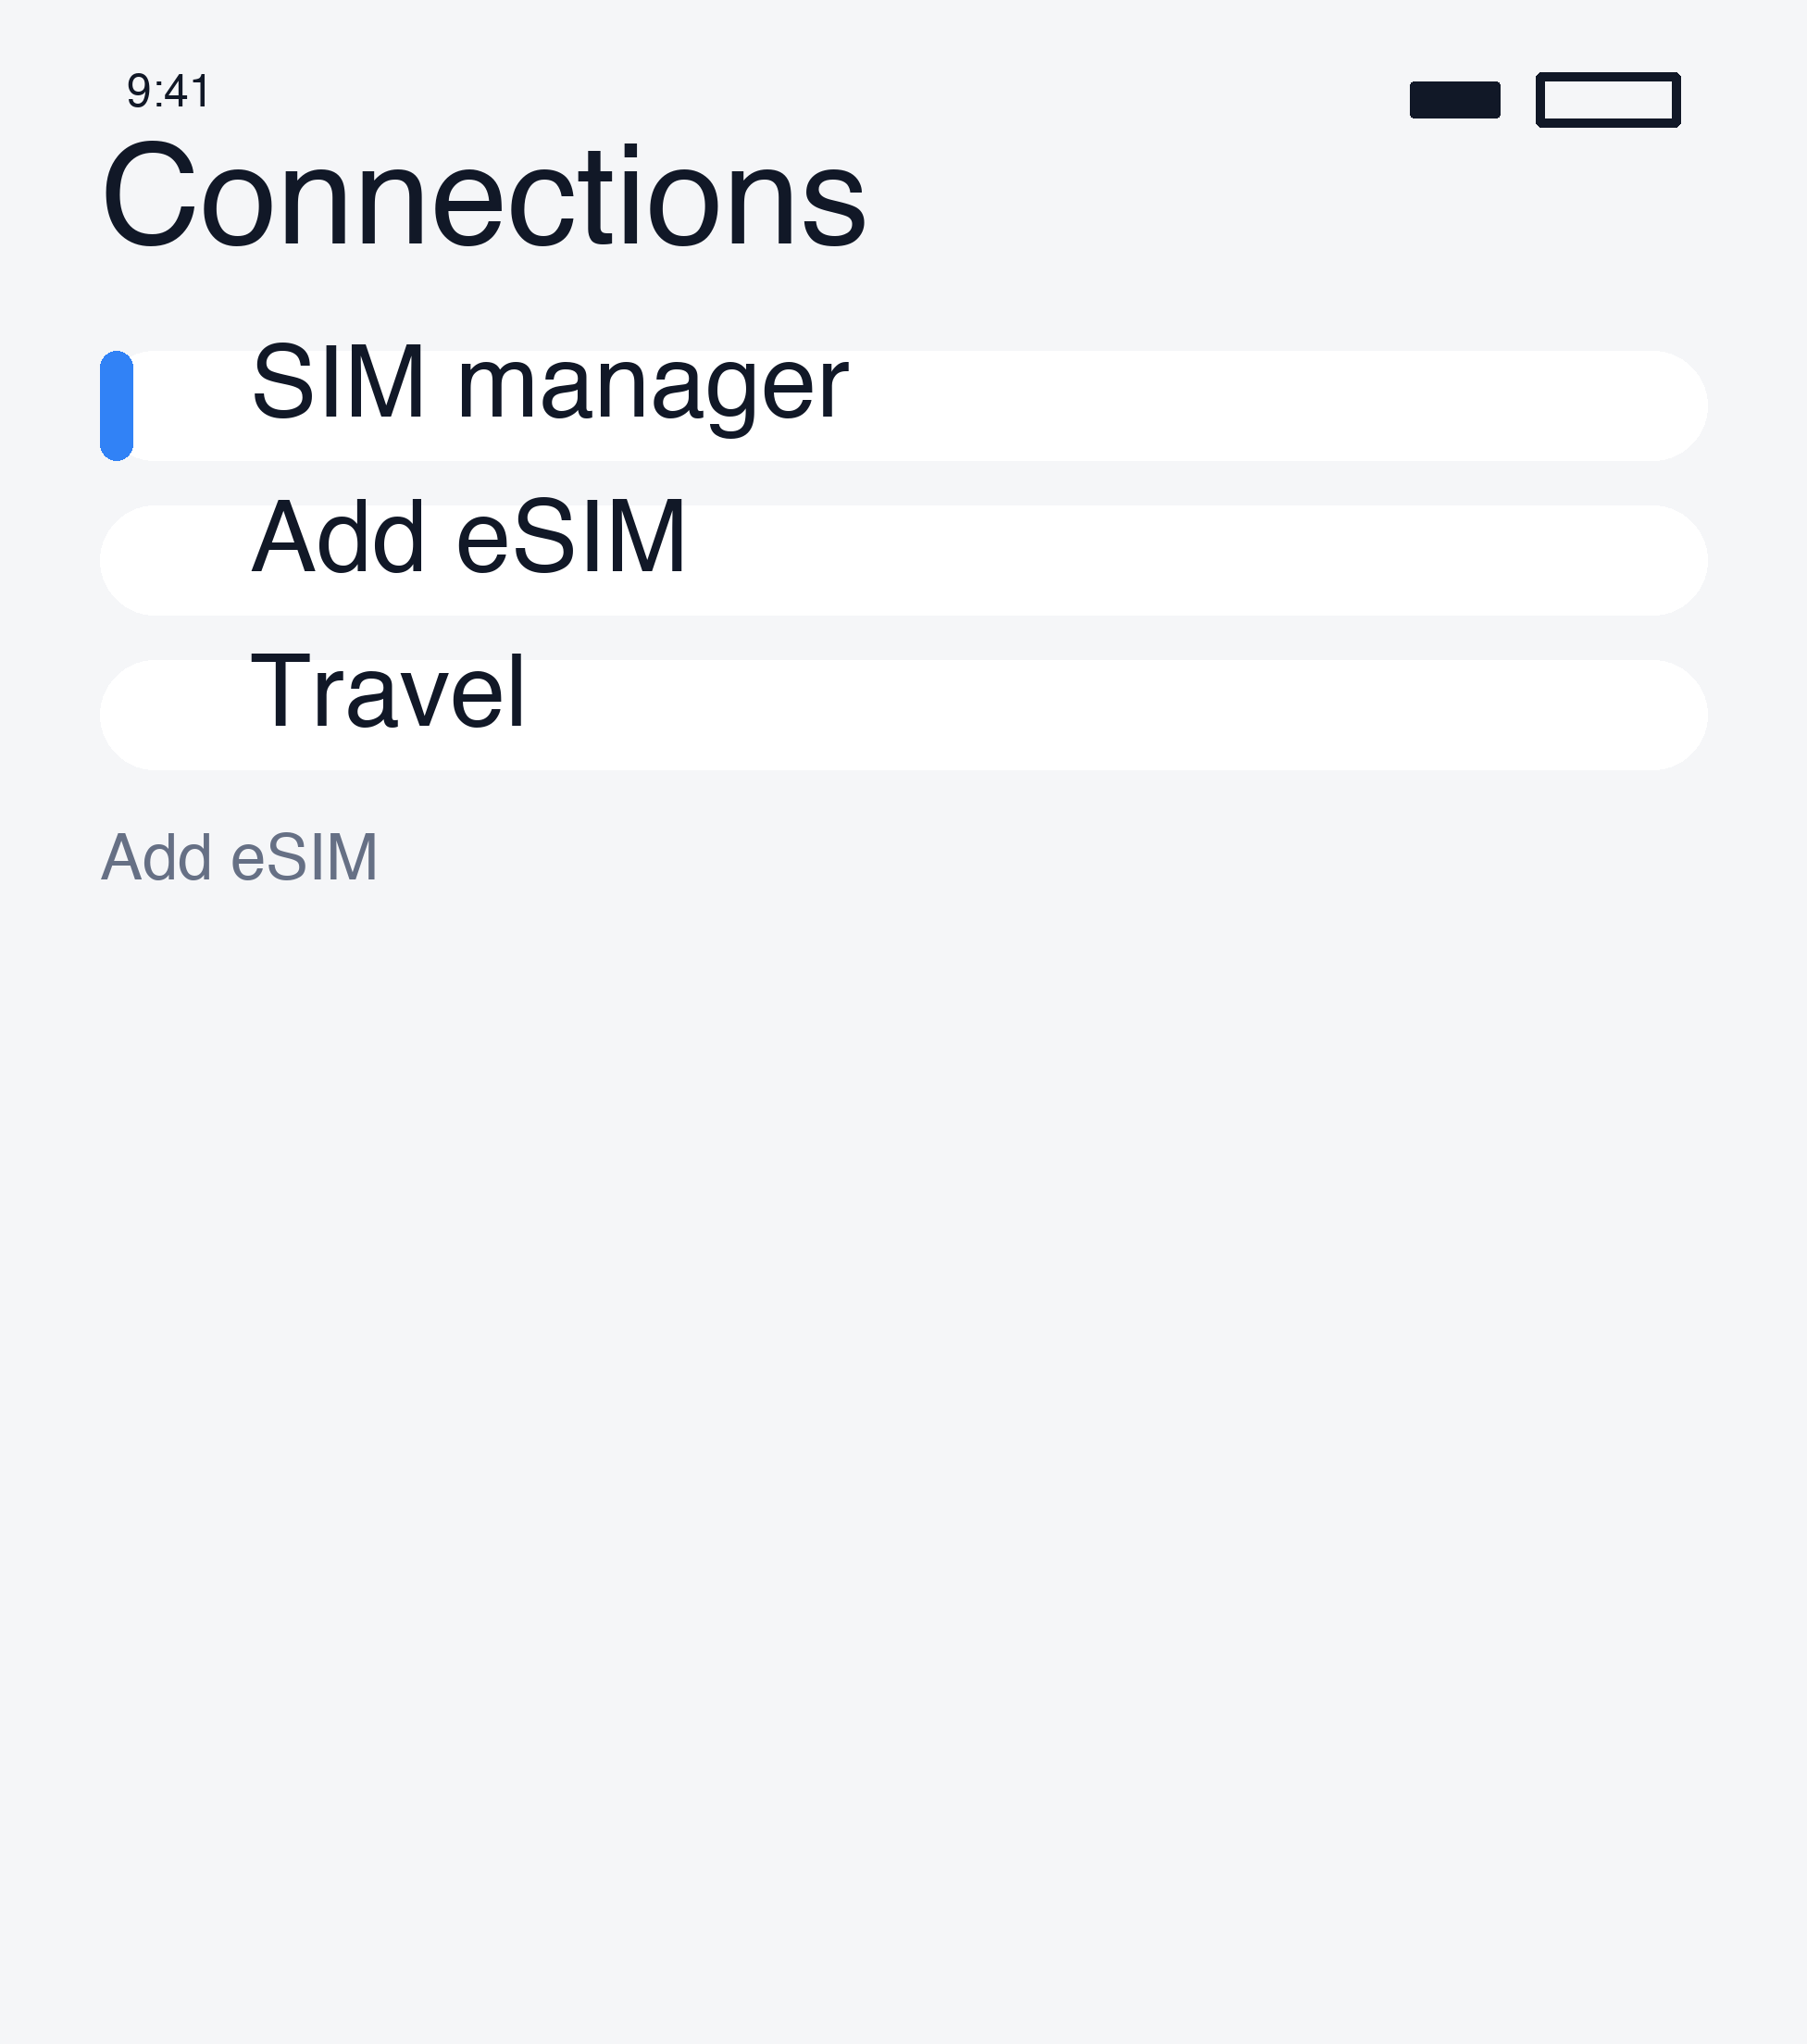
Setup screen · 1
Setup screen · 1
Setup screen · 2
Setup screen · 2
Setup screen · 3
Setup screen · 3

Alternative · Install on Pixel

Open Settings → Network & internet → SIMs → Add SIM → Set up an eSIM, then scan your order’s QR code. Consult your manufacturer’s instructions if the menus differ.

Alternative · Enter details manually

If the scan screen offers Enter activation code, copy the code supplied in your order exactly. If fields differ or details are missing, ask support; do not guess values.
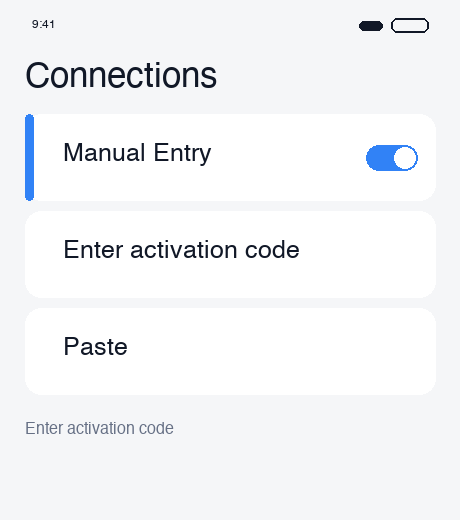
Setup screen
Setup screen

After installation

Keep your usual SIM selected for data before departure. At your destination, follow Connect on arrival. If an error appears, keep the eSIM installed and follow the connection checks.

Samsung instructions · Google Pixel instructions

Tiếp theoĐã cài đặt? Kết nối khi đến nơi

Vẫn cần hỗ trợ?

Đội ngũ hỗ trợ của chúng tôi có thể giúp bạn.

Nhận trợ giúp

Chuyển đến bước

  1. 01Before you install
  2. 02Start with Auto Install
  3. 03If the setup screen does not open
  4. 04Alternative · Scan a QR code (Samsung example)
  5. 05Alternative · Install on Pixel
  6. 06Alternative · Enter details manually
  7. 07After installation

Bài viết hữu ích tiếp theo

Make and receive calls abroadConnect to VPN in the appSwitch back after your tripConnect on arrival

NBase Korea Co., Ltd.

Giám đốc điều hành: Shinbae Kong

Mã số doanh nghiệp: 401-87-00956

Đăng ký bán hàng từ xa: 2025-Yongin Suji-2082

902, Bldg A, 767 Sinsu-ro, Suji-gu, Yongin-si, Gyeonggi-do (Dongcheon-dong, Bundang Suji U-TOWER)

Trụ sở tại Mỹ: NBASE CORP. · Corporate Park, Irvine, CA 92606, USA

esimoa — Travel eSIM, Calls & VPN - eSIM, calls & VPN for travelers — all in one app | Product Hunt

Truy cập nhanh

So sánh gói eSIMTải ứng dụngMua số lượng lớnHướng dẫnĐối tác của chúng tôiHợp tácVề chúng tôi

Chăm sóc khách hàng

Chat hỗ trợYêu cầu hoàn tiền

Email: support@esimoa.com

Pháp lý

Điều khoản dịch vụChính sách quyền riêng tưChính sách giao hàng và hoàn tiềnNhà phát triểnTài liệu API

© 2026 esimoa. Bảo lưu mọi quyền.