
Android includes Samsung Galaxy, Google Pixel and other brands. eSIM support and menu names depend on the model, sales region and OS. Huawei devices also require model-specific compatibility checks. The screenshots below use Samsung Galaxy as an example.
Before you install
Support can vary by purchase country and carrier, even for the same model name. Check compatibility and carrier lock first.
Connect to Wi-Fi and open your order in My eSIMs. Check when the plan starts before installing.
Start with Auto Install
- On the Android phone you will use, open My eSIMs and select your purchased eSIM.
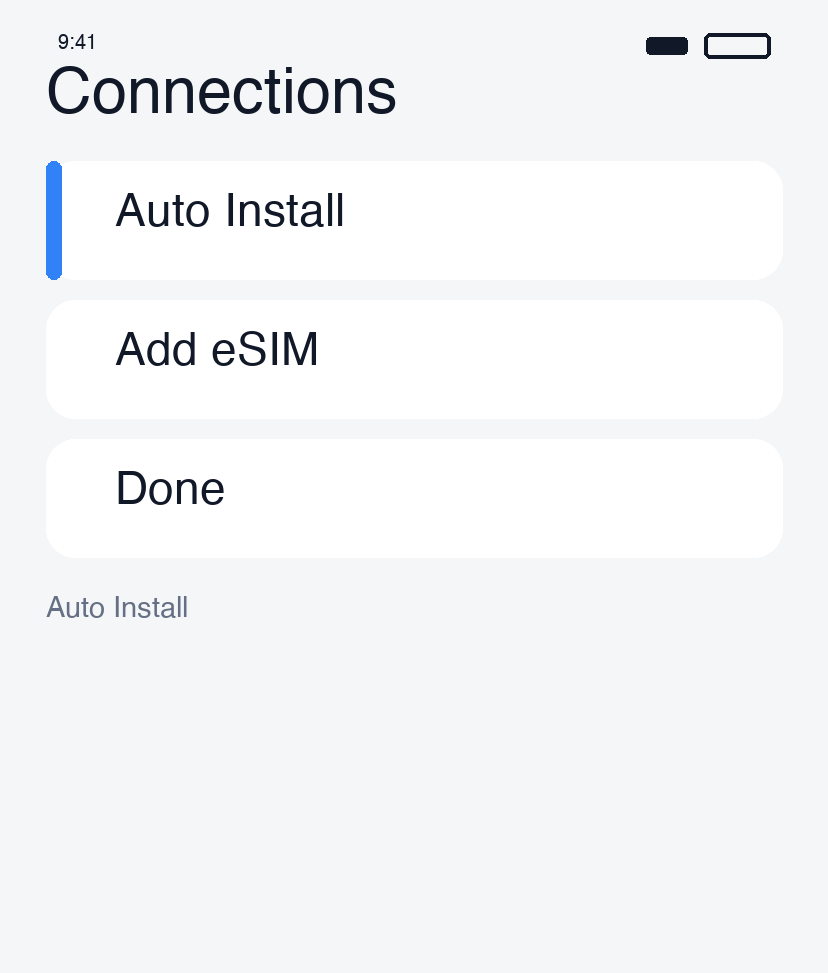
- In the Auto Install tab, tap Auto Install eSIM.
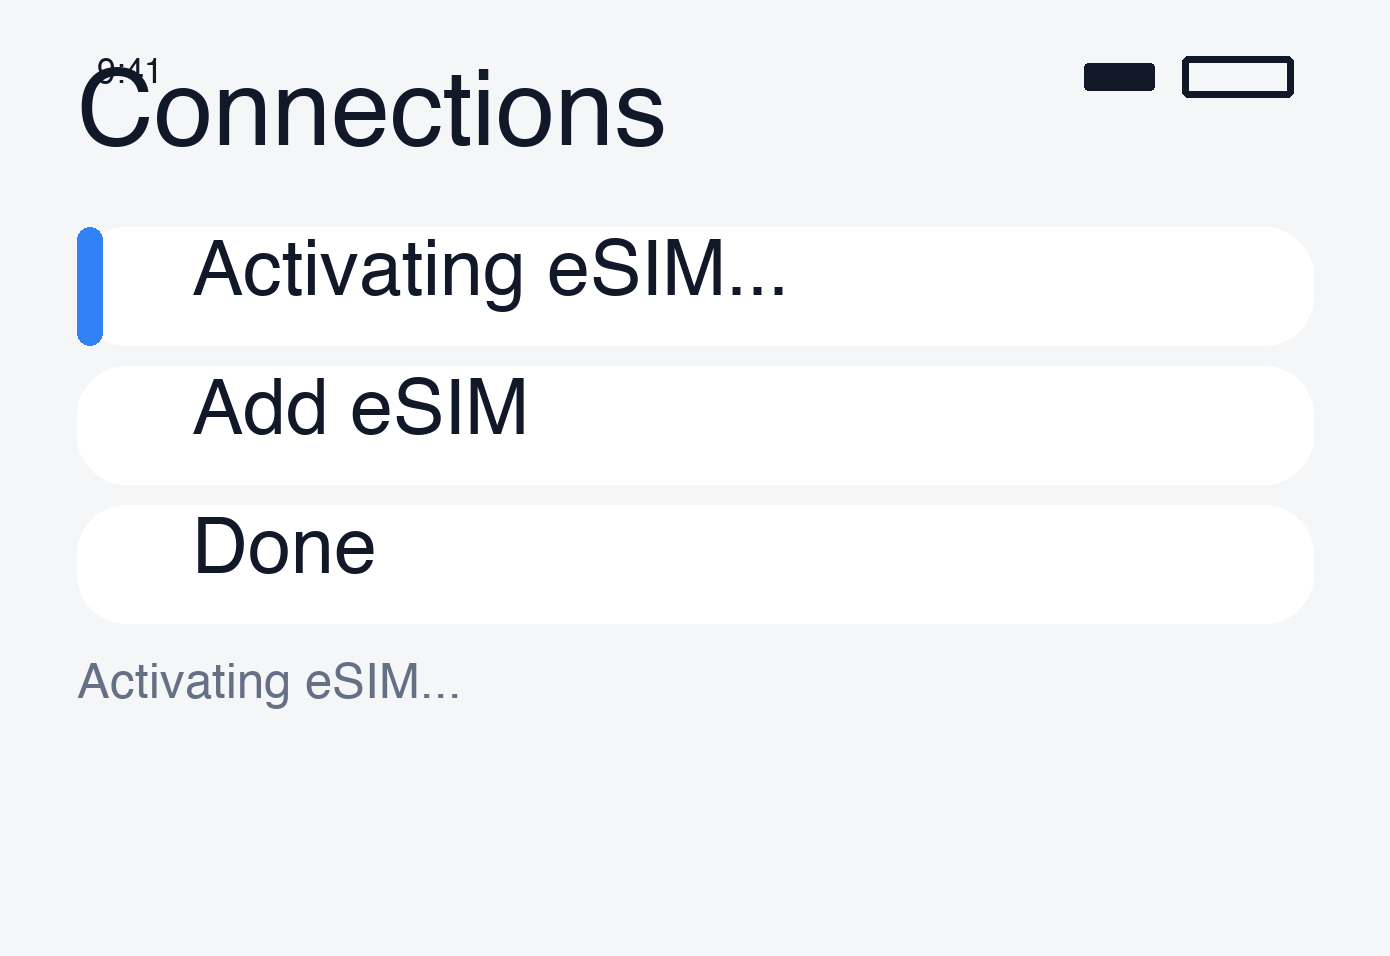
- Continue on the phone’s Set up eSIM screen.
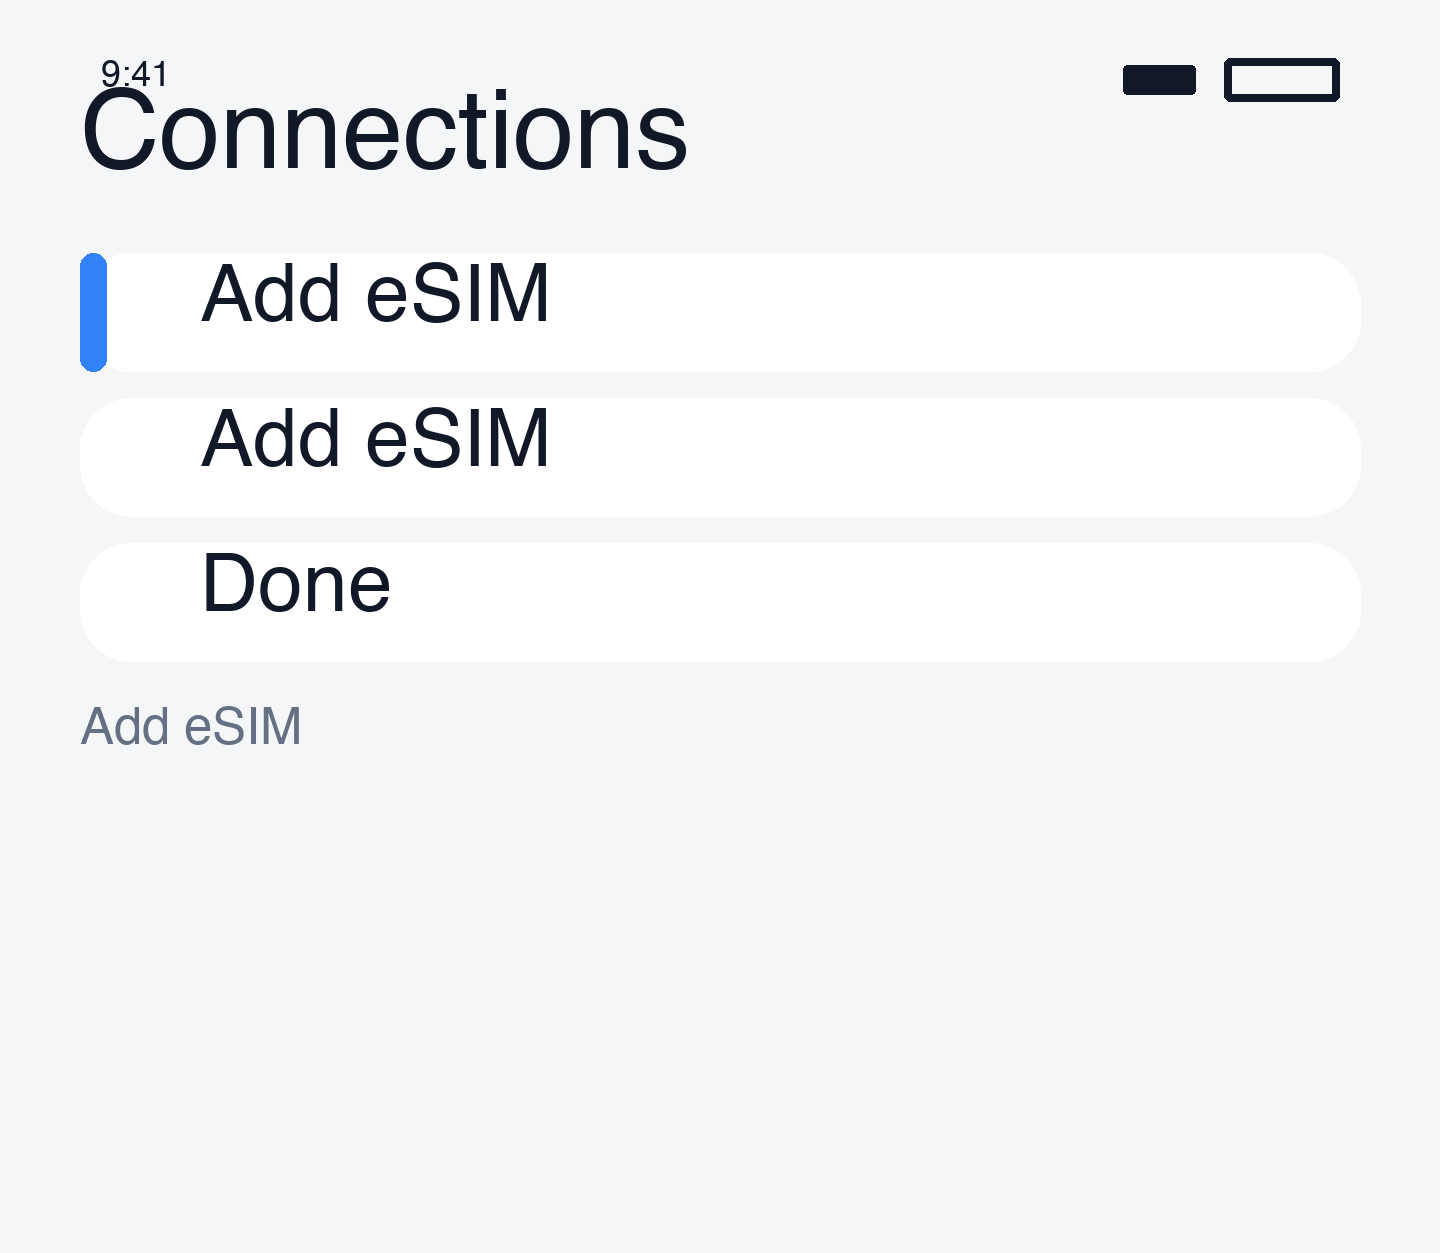
- Tap Add, wait for installation to finish, then check the line in SIM settings.
If the setup screen does not open
If you opened the page inside KakaoTalk or NAVER, try an external browser such as Chrome. If your device or OS does not support automatic installation, use the QR code or manual method below.
Alternative · Scan a QR code (Samsung example)
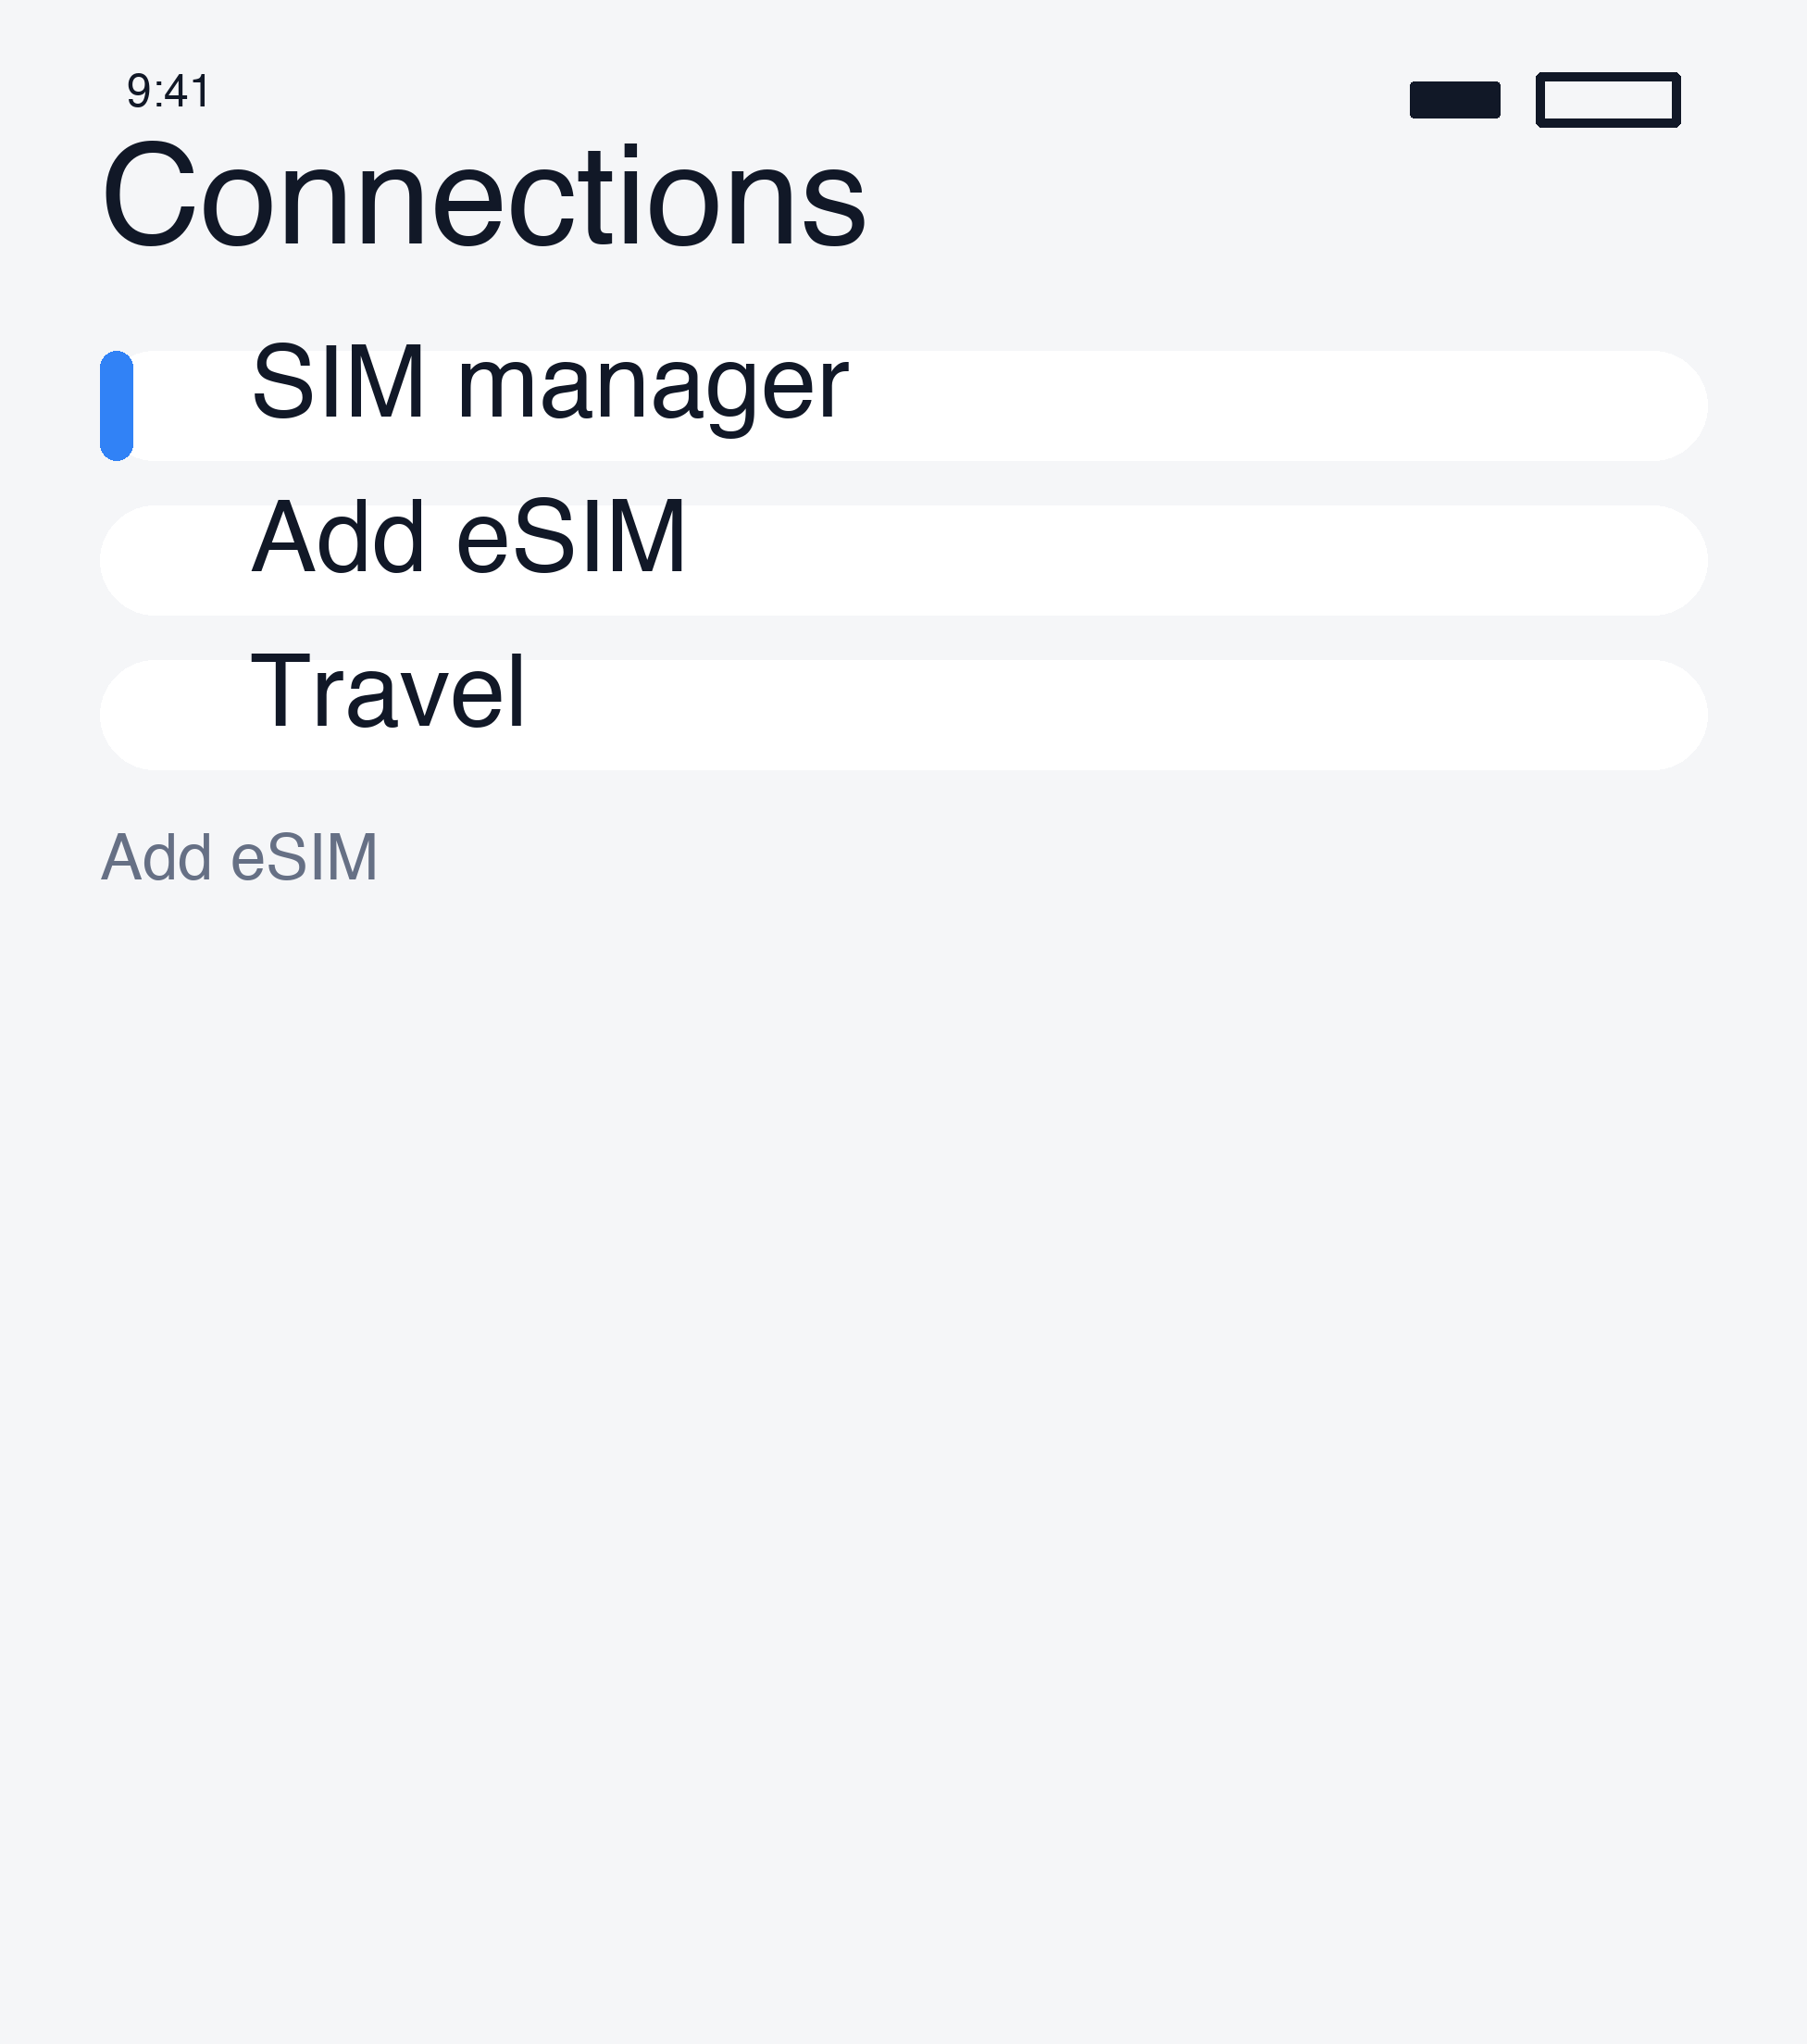
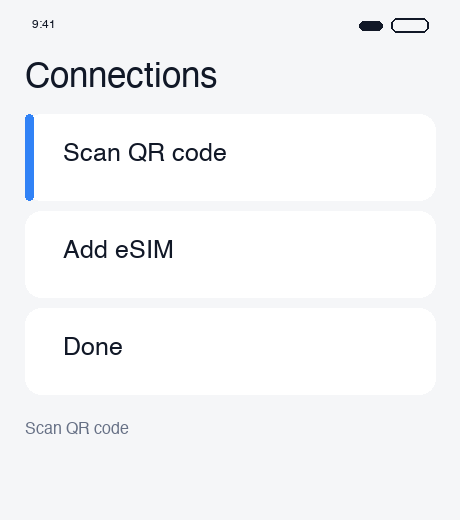
- Open Settings → Connections → SIM manager → Add eSIM.
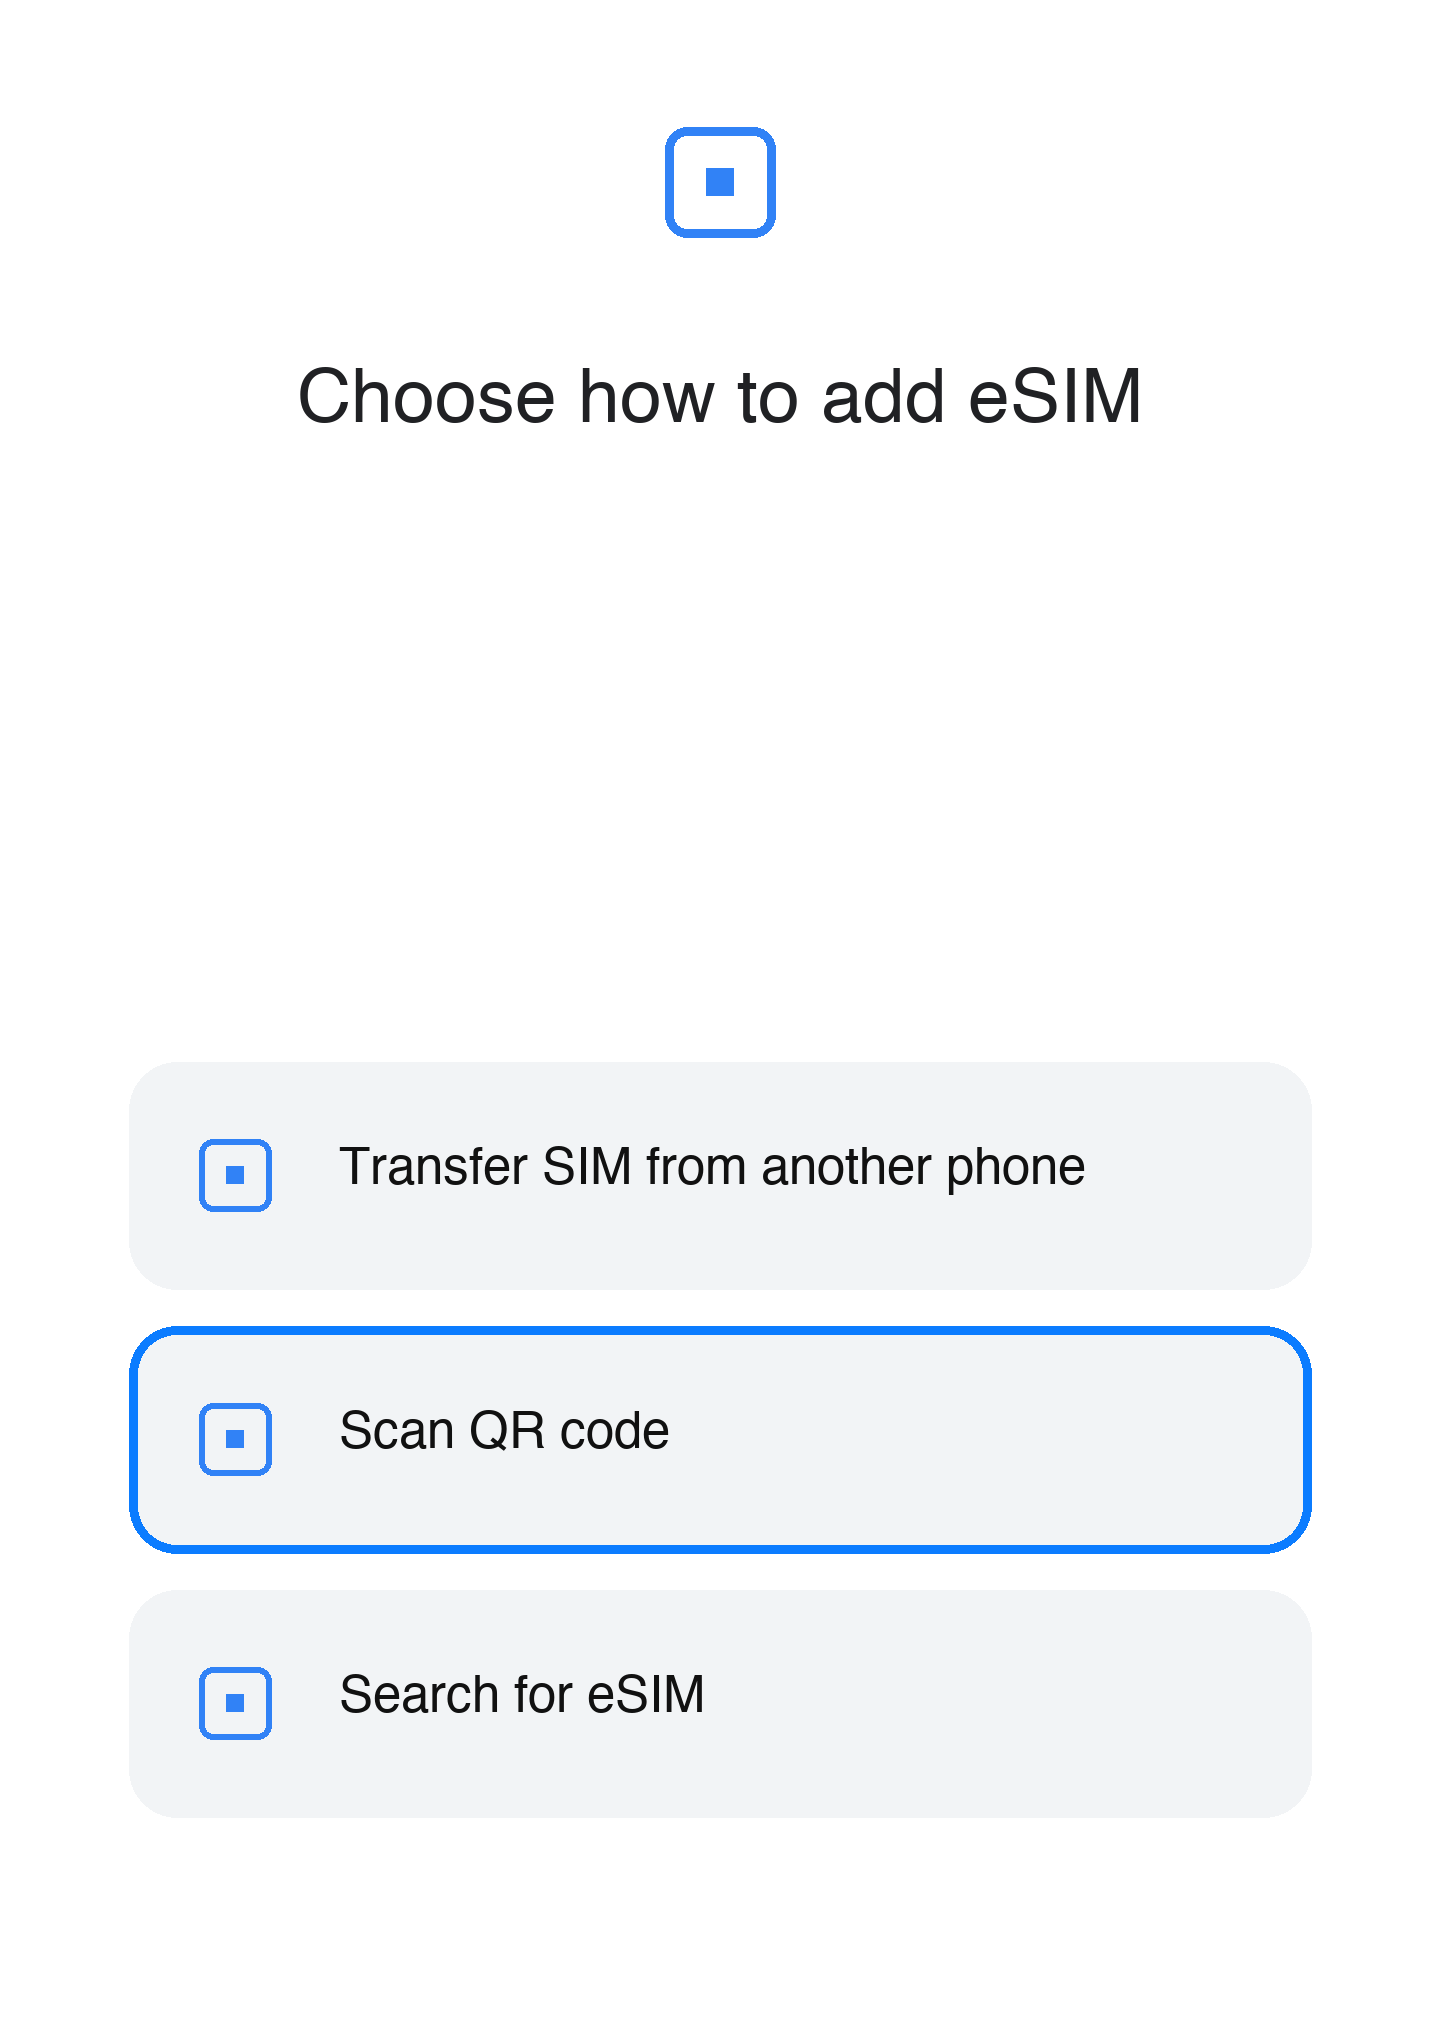
- Choose Scan QR code and scan your order’s code from another screen.
- If a gallery option appears, you may select a saved QR image.
- Finish the prompts and label the line Travel eSIM.
Menu names vary by model and One UI version.
Alternative · Install on Pixel
Open Settings → Network & internet → SIMs → Add SIM → Set up an eSIM, then scan your order’s QR code. Consult your manufacturer’s instructions if the menus differ.
Alternative · Enter details manually
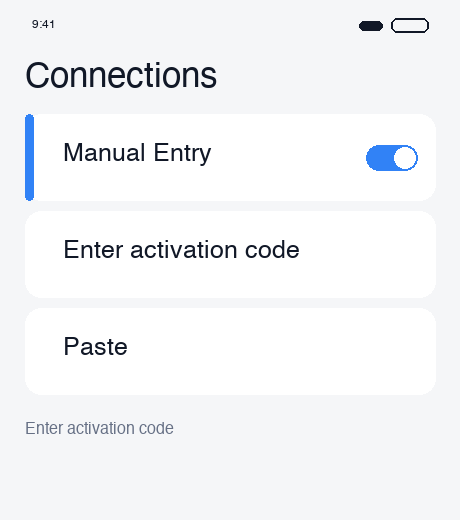
If the scan screen offers Enter activation code, copy the code supplied in your order exactly. If fields differ or details are missing, ask support; do not guess values.
After installation
Keep your usual SIM selected for data before departure. At your destination, follow Connect on arrival. If an error appears, keep the eSIM installed and follow the connection checks.
Ti serve ancora aiuto?
Il nostro team di assistenza può aiutarti.