
Before you install
- Check device support and carrier lock, then connect to reliable Wi-Fi.
- Open your order in My eSIMs. Read when your plan’s validity starts: some plans start at installation.
- Install on the phone you will use. Transfers and reinstalls depend on the plan.
Start with Auto Install
- On the iPhone you will use, open My eSIMs and select your purchased eSIM.
- In the Auto Install tab, tap Auto Install eSIM.
- Read the installation notice and tap Got it, start install.
- Follow the iPhone prompts, then check the added line under Settings → Cellular.
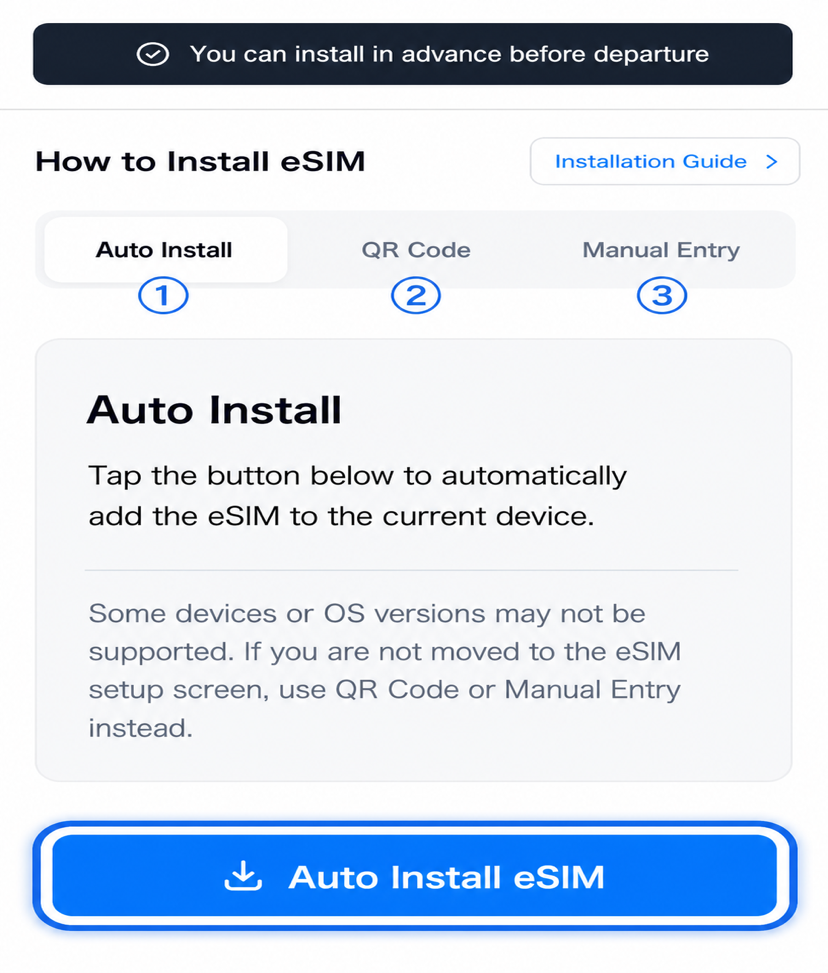
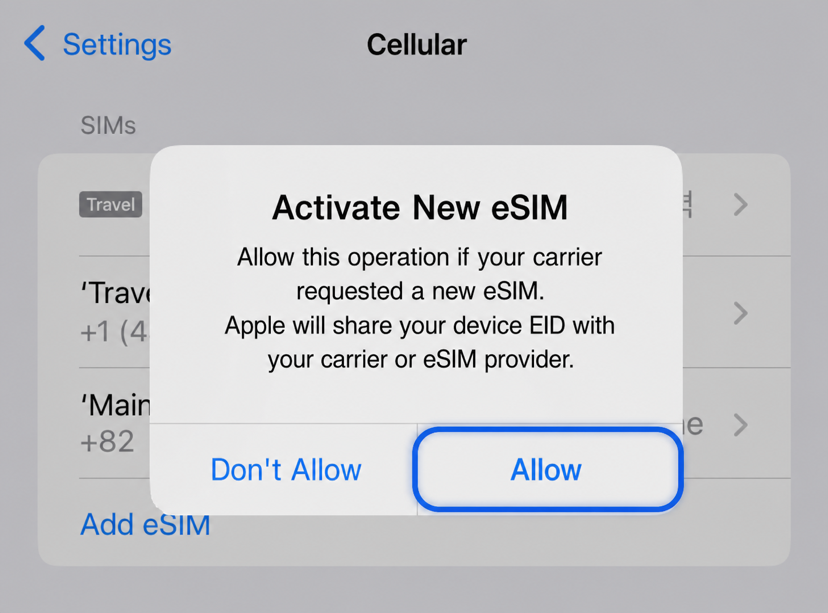
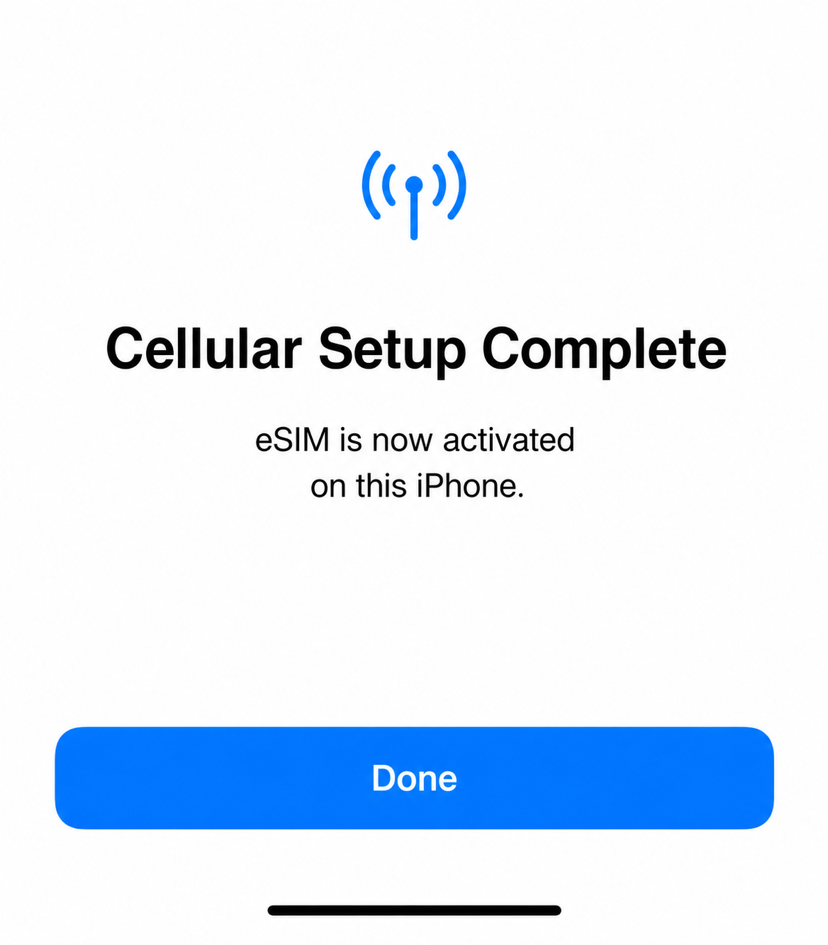
At home, your travel eSIM may not connect to its destination network yet. An activation notice can appear even after installation. Check whether the line is listed under Settings → Cellular; contact support if it is missing.
If the setup screen does not open
Open My eSIMs in the default browser on the iPhone that will use the eSIM. If your device or OS does not support automatic installation, use the QR code or manual method below.
Alternative · Scan the QR code
- Display the order’s QR code on another screen or a printout.
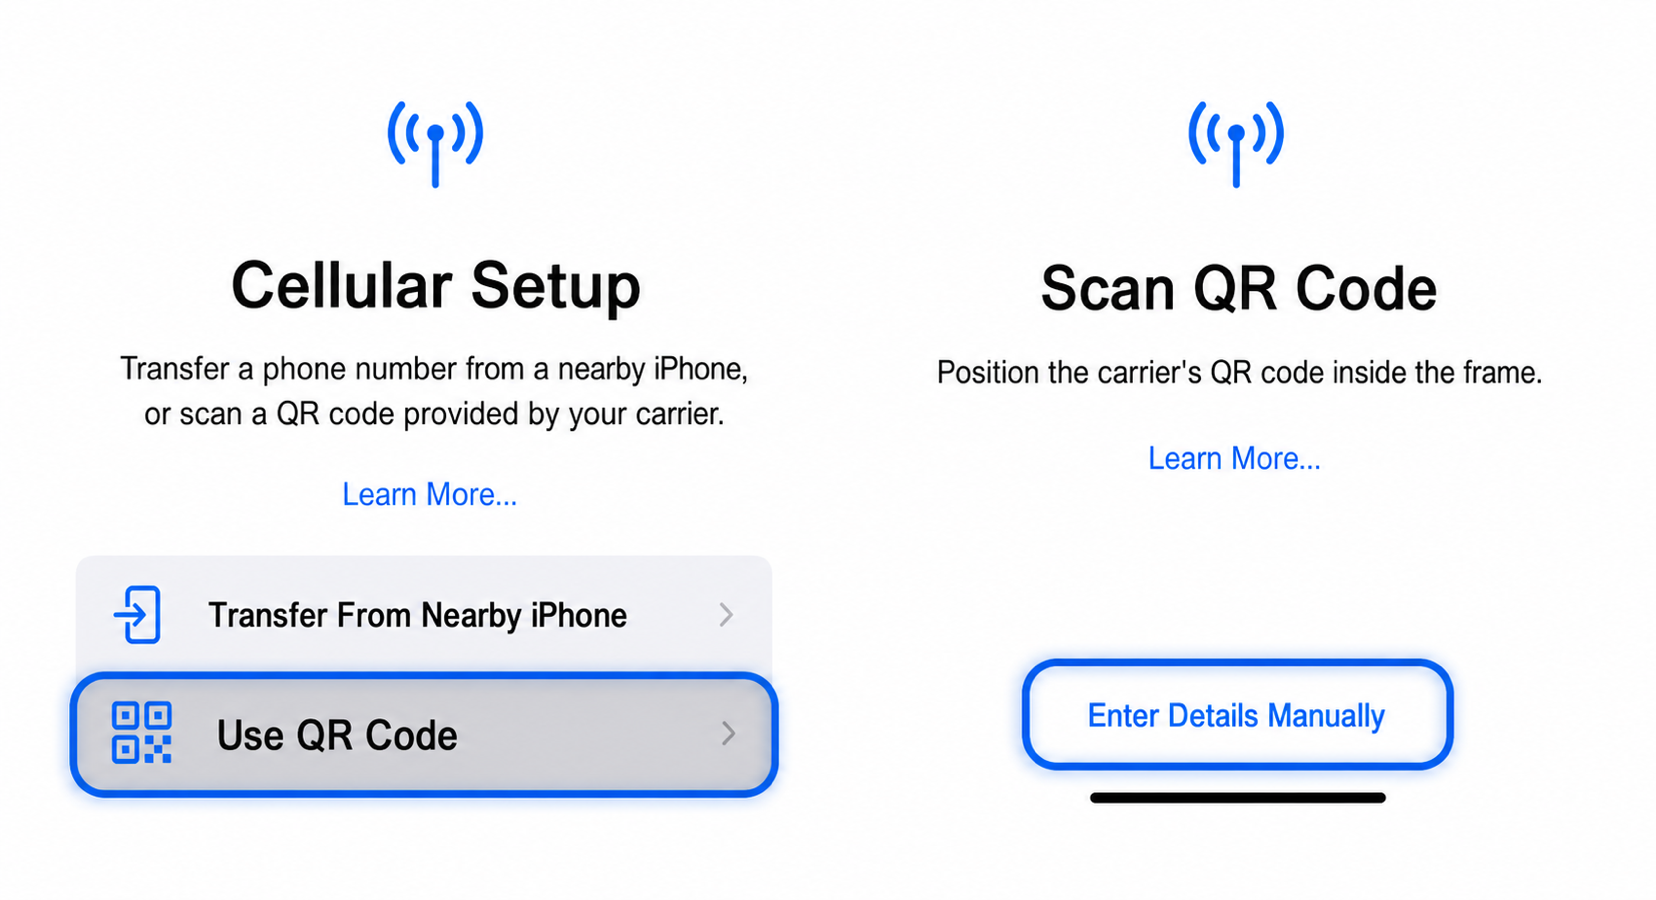
- On iPhone, go to Settings → Cellular (Mobile Service) → Add eSIM → Use QR Code.
- Scan the code and follow the prompts to finish adding the eSIM.
- Give the line a clear label, such as Travel eSIM.
On iOS 17.4 or later, you can also touch and hold a QR code in your default browser or email and select Add eSIM. If that option does not appear, scan from another screen.
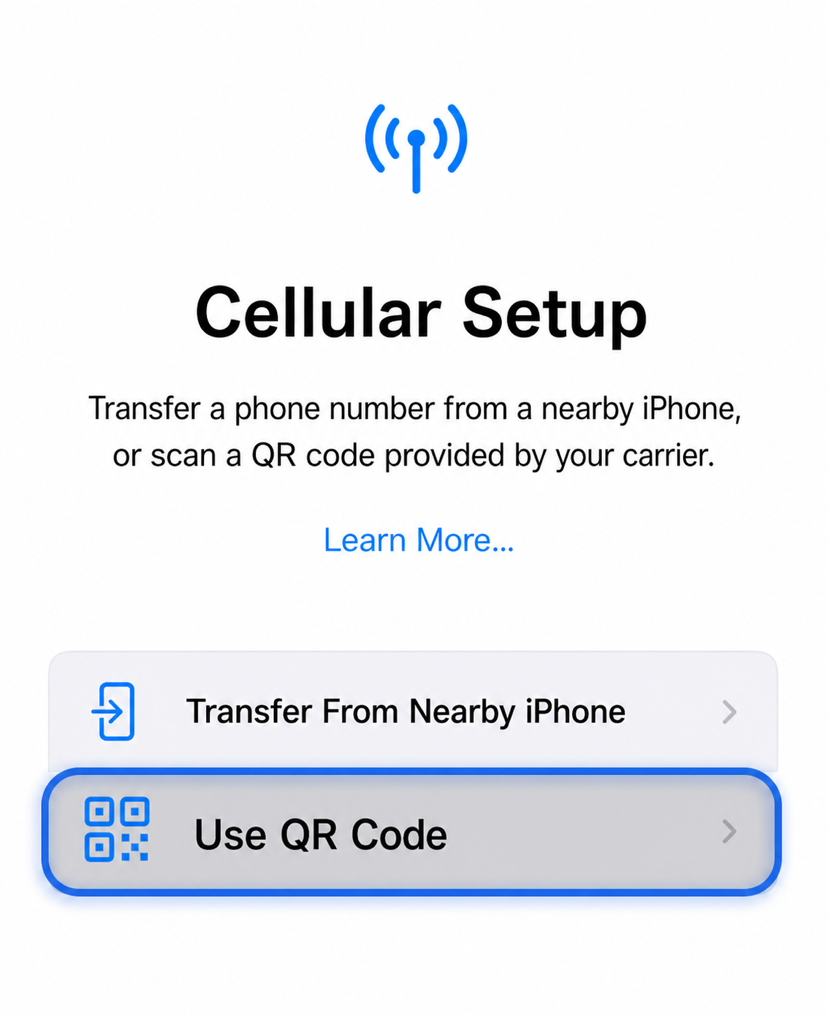
Alternative · If the QR code won’t scan
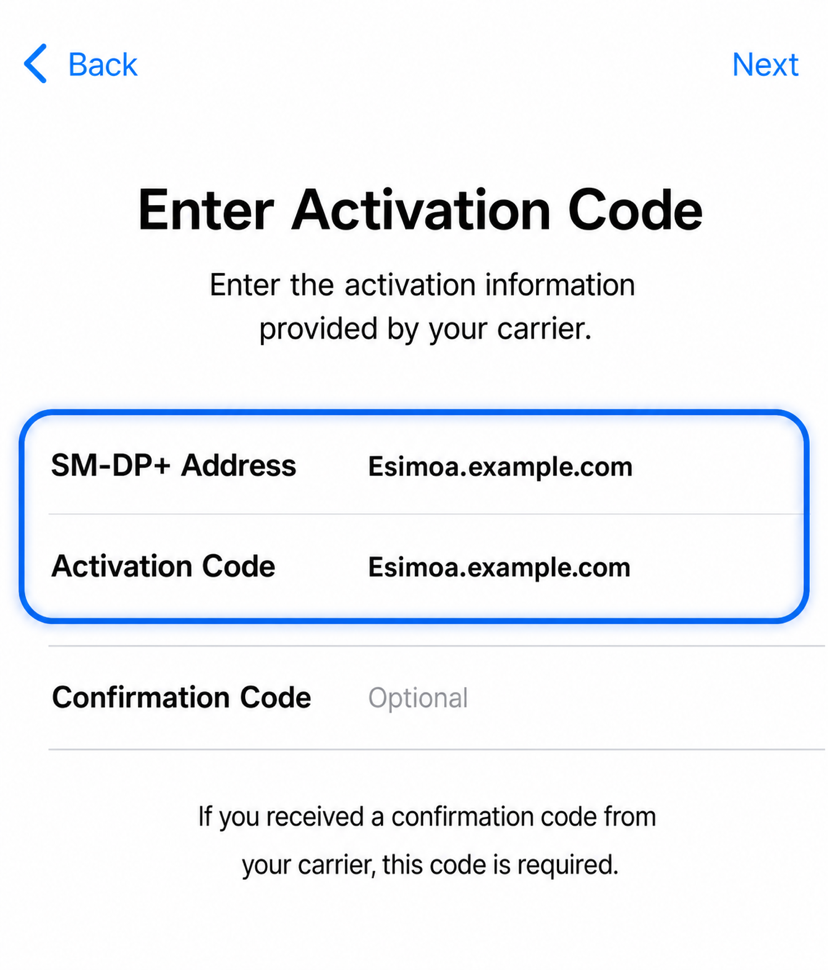
Choose Enter Details Manually on the scan screen. Copy the SM-DP+ address and activation code exactly from your order. Enter a confirmation code only if one was supplied. Contact support if the details are missing.
After installation
Before departure, keep your usual SIM selected for mobile data. Follow Connect on arrival at your destination.
Keep the eSIM installed if an error appears. Deleting it may require a replacement. Start with the connection checks.
Masih perlu bantuan?
Tim dukungan kami dapat membantu Anda.