
Complete iPhone eSIM Setup Guide (iPhone 15/14/13)
Complete iPhone eSIM Setup Guide
Purchased an eSIM for your trip but not sure how to install it? This guide covers everything you need to know about iPhone eSIM setup, from QR code scanning to manual activation. Compatible with iPhone 15 through iPhone XS.
📱 Check eSIM-Compatible iPhone Models
| Model | eSIM | Physical SIM | Notes |
|---|---|---|---|
| iPhone 15 / 15 Pro / 15 Plus / 15 Pro Max | ✅ | ✅ (not in US) | Up to 8 eSIMs stored, 2 active |
| iPhone 14 / 14 Pro / 14 Plus / 14 Pro Max | ✅ | ✅ (not in US) | US models are eSIM-only |
| iPhone 13 series | ✅ | ✅ | 2 eSIMs active simultaneously |
| iPhone 12 series | ✅ | ✅ | 1 eSIM + 1 physical SIM |
| iPhone 11 series | ✅ | ✅ | 1 eSIM |
| iPhone XS / XS Max / XR | ✅ | ✅ | First models with eSIM |
| iPhone X and below | ❌ | ✅ | No eSIM support |
💡 Tip: iPhone 14/15 purchased in the US are eSIM-only with no physical SIM slot.
🔍 Before You Start
1. Check iOS Version
- Requires iOS 12.1 or later
- Settings → General → Software Update
- Update to the latest iOS for best compatibility
2. Check Device Lock Status
- Settings → General → About → Carrier Lock
- Must show "No SIM restrictions"
3. Ensure Internet Connection
- Wi-Fi recommended for activation
- Some providers may allow cellular activation
4. Have Your QR Code Ready
- Check your purchase email for the QR code
- Display it on another device screen or print it out
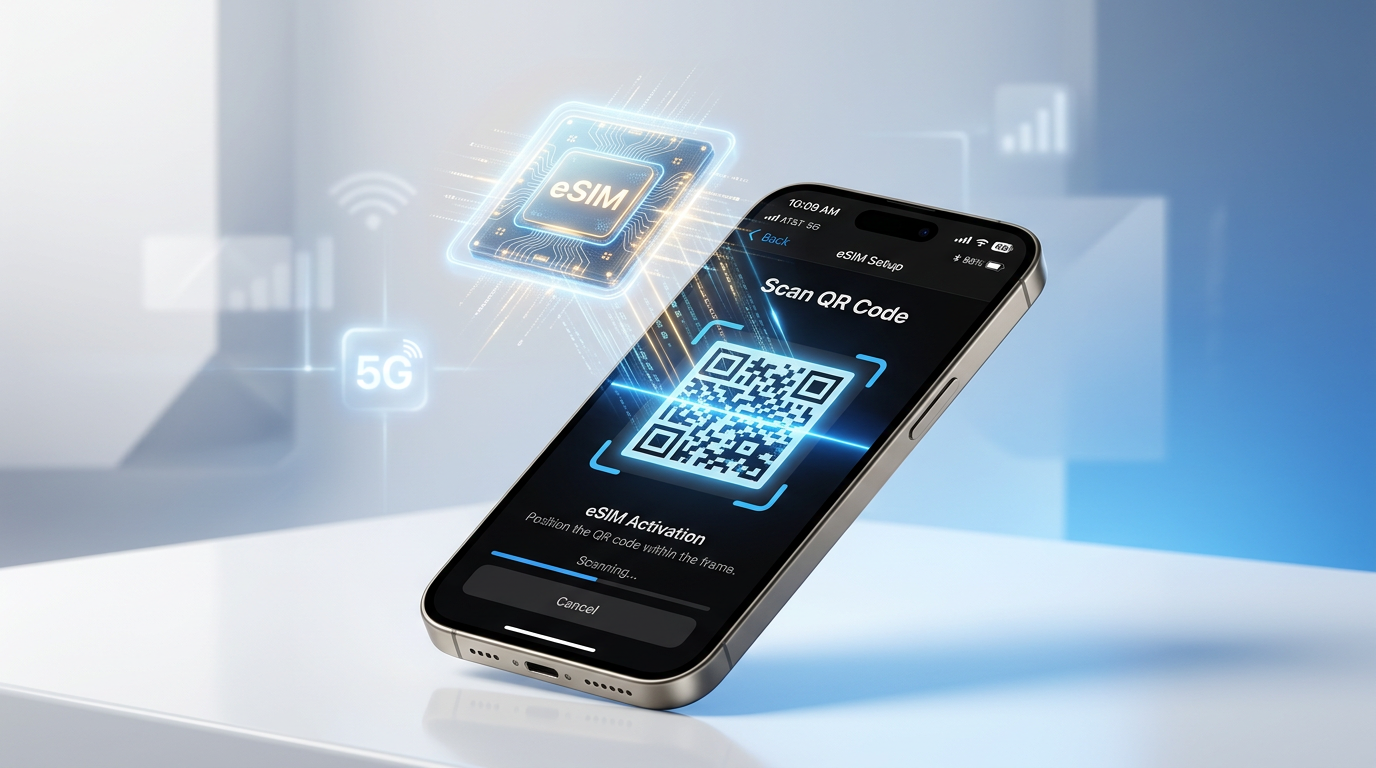
📲 Method 1: QR Code Scan (Recommended)
Step 1. Open Settings app
Step 2. Tap Cellular (or Mobile Data)
Step 3. Tap Add eSIM (iPhone 15/14) or Add Cellular Plan (older models)
Step 4. Select Use QR Code → Scan the QR code from your eSIM provider
Step 5. Review plan details → Tap Continue → Set a label (e.g., "Travel eSIM") → Tap Add Cellular Plan
Step 6. Set eSIM as Default Data:
- Settings → Cellular → Default Voice Line / Default Data
- Set the eSIM as your Default Data line
✍️ Method 2: Manual Code Entry
Use this when you can't scan the QR code.
Step 1–3: Same as QR Code method
Step 4. Tap Enter Details Manually
Step 5. Enter:
- SM-DP+ Address: Server address from your provider (e.g.,
rsp.truphone.com) - Activation Code: The code from your purchase email
- Confirmation Code: If required by the provider
🌐 Enable Data Roaming (Required for Overseas Use)
After installing the eSIM, enable Data Roaming to use data abroad:
- Settings → Cellular
- Tap your installed eSIM (e.g., "Travel eSIM")
- Toggle Data Roaming ON (green)
⚠️ Important: Turn OFF data roaming on your domestic SIM to avoid unexpected charges.
❓ Frequently Asked Questions
Q: How many eSIMs can I have on my iPhone?
iPhone 15/14: Up to 8 stored, 2 active simultaneously. iPhone 13 and older: up to 2 stored.
Q: Can I use my domestic SIM and travel eSIM at the same time?
Yes! This is Dual SIM. Set the eSIM as Default Data for overseas use.
Q: How long does eSIM activation take?
Usually 1–5 minutes. Some carriers may take up to 30 minutes.
Q: What if I get an error during installation?
- Check Wi-Fi connection
- Verify QR code hasn't expired (usually valid 24–72 hours)
- Restart your iPhone and try again
- Contact your eSIM provider's support
✅ Quick Checklist
- Confirm iPhone model supports eSIM
- Update to latest iOS
- Confirm device is unlocked
- Connect to Wi-Fi
- Purchase eSIM and get QR code
- Settings → Cellular → Add eSIM → Scan QR
- Set label for the eSIM
- Set as Default Data line
- Enable Data Roaming
Find the best eSIM deals for 200+ countries at esimoa.com →